Posts by Alicia Kurz
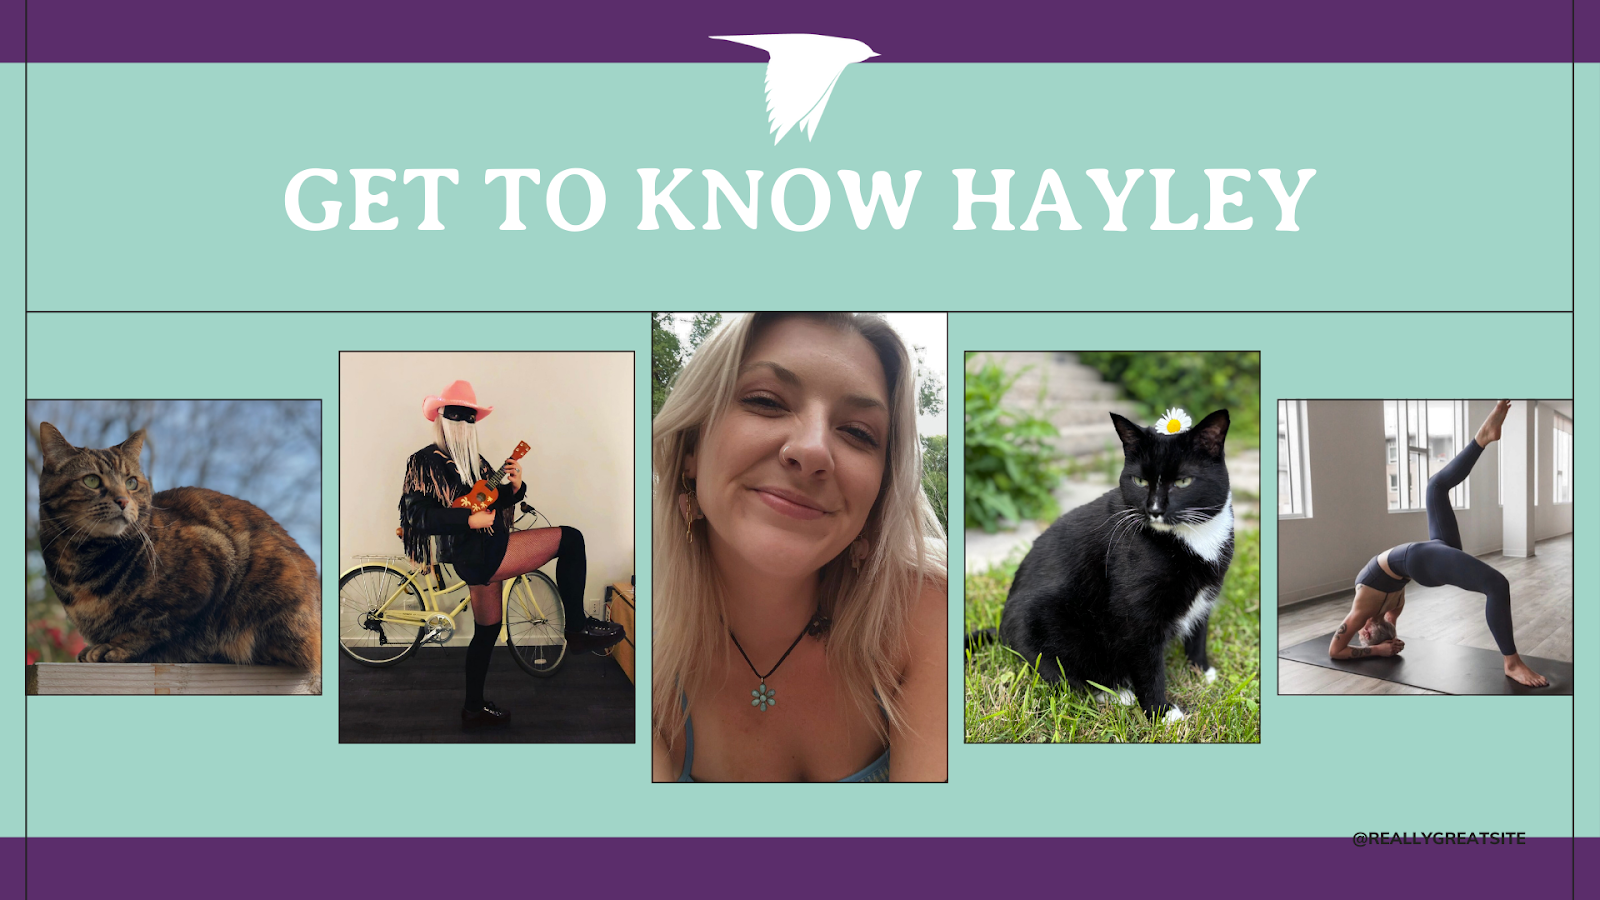
Meet Hayley Dobson
- by Alicia Kurz
Hayley Dobson is a childless cat lady. And if you know any childless cat ladies, you know that they have many interesting hobbies, take on the coveted role of fun aunt, make the best pet-sitters, and they basically live a more elevated lifestyle of someone in their twenties who can do what they want — except they aren’t broke and have a fully developed brain.
The other thing about women with fully developed brains is that they like to use them. If there’s one thing I know for sure about having a relationship with Hayley, you don’t want to get into a debate with her because you will certainly lose. This woman is informed, clever, and confident — as she should be. She can convince anyone of anything, which makes her an incredible and captivating storyteller.
When Hayley joined the Starling team, it was a blessing for us because of her personality and intelligence, and she became a great fit for our clients because she’s a funny, hard-working perfectionist.
Personal Life
Hayley “levels up” everything she is involved in. Her interest in yoga and dance led her to complete her 500-hour RYT certification, which she has been working towards for seven years.
“I'm really interested in movement as a healing modality and a path to more authentic expression.”
If you ask Hayley to do something, she gives it 110% every single time. One of the best examples of this was turning a simple bridesmaid speech into a personalized rap at a friend’s wedding — a performance the crowd will never forget.
She loves attending and running community events, and if you ever meet her at one, you’ll be able to find her because of a loud outfit (think light-up cowboy hats or eccentric costumes to fit any theme) and the gathering of people who naturally are drawn to her.
Whether you credit this to a trait she’s born with or the time, effort and space she’s given to working on herself and the connection between mindfulness and creativity — she’s that girl.
Work Life
Hayley started her marketing career over 10 years ago while she was completing her communications degree at Carleton University. During that time, she worked for the Student Association as Vice President of Student Life. She put her skills to use planning the student social calendar for the year, putting together events like orientation week, huge concerts, and homecoming. This is where she fell in love with experiential marketing and hosting events.
After graduation, Hayley started working in community at Lululemon in Vancouver.
“That's where I learned the power of meaningful experiences and how they support in building community, creating emotional impact, and driving awareness and brand resonance.”
She went on to work in sales and marketing in the cannabis industry, which taught her about working in regulated environments and building an industry from scratch.
Why is Storytelling Important for Businesses?
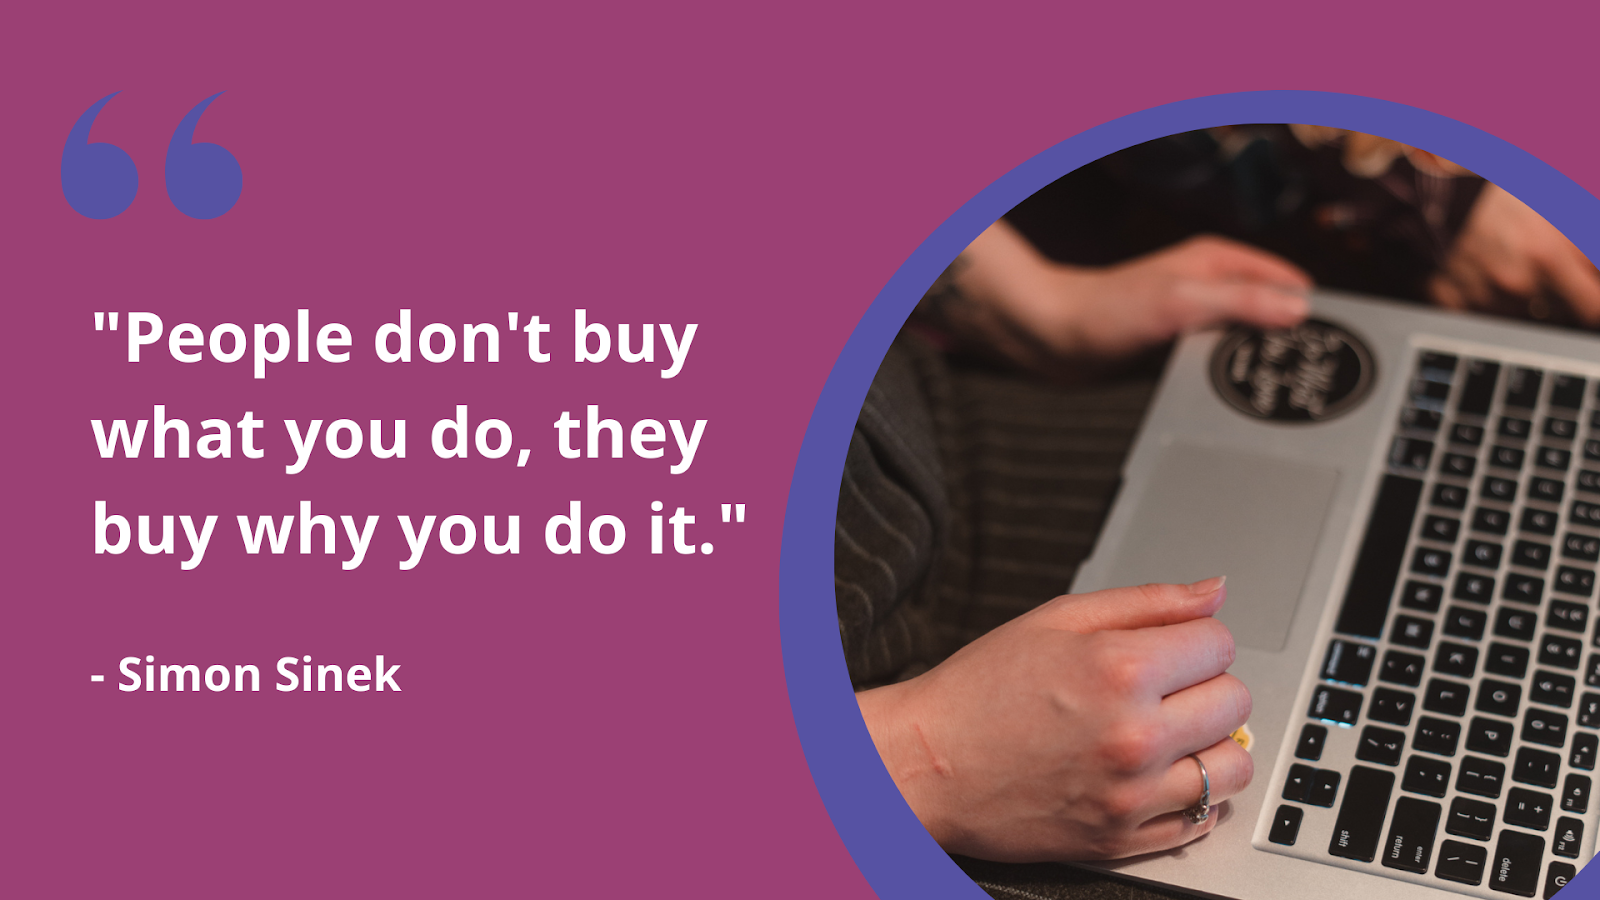
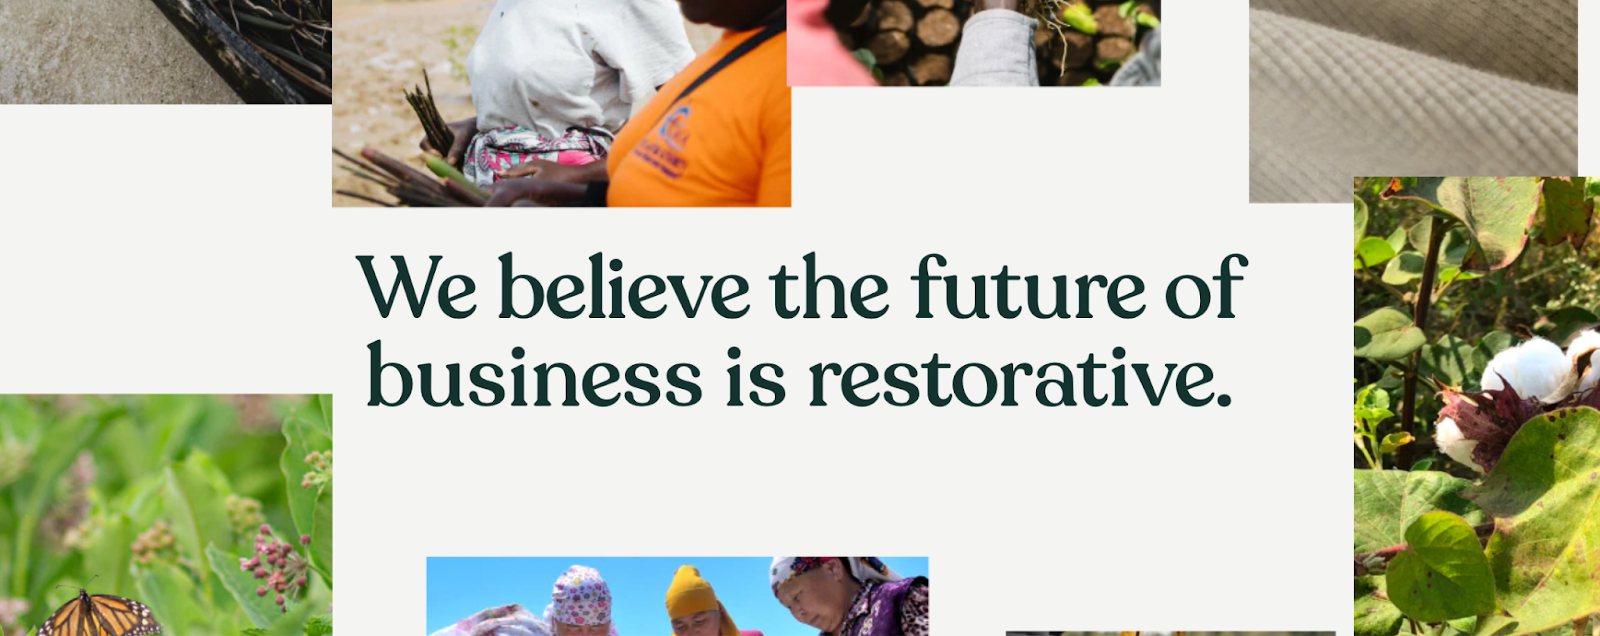
For many people, the ultimate decision about what product they buy or service they invest in comes down to whether the business or individual offering it aligns with their values. Storytelling allows consumers to learn more about what you believe and why you do what you do. It's the heartbeat of your marketing, and weaving the right story brings magic and life into your brand.
Storytelling helps businesses connect with their audience on a deeper level. When you are choosing a lunch spot, do you choose the sandwich shop you know nothing about, or the one where the owner went to Europe to learn culinary techniques and bring it back to your town because they have a passion for sharing good food? Having a back story just makes your purchase feel more special.
It’s about sharing values, experiences, and emotions. When you tell your brand's story—how you started, the challenges you faced, or even your quirky office culture—you make your business relatable and memorable.
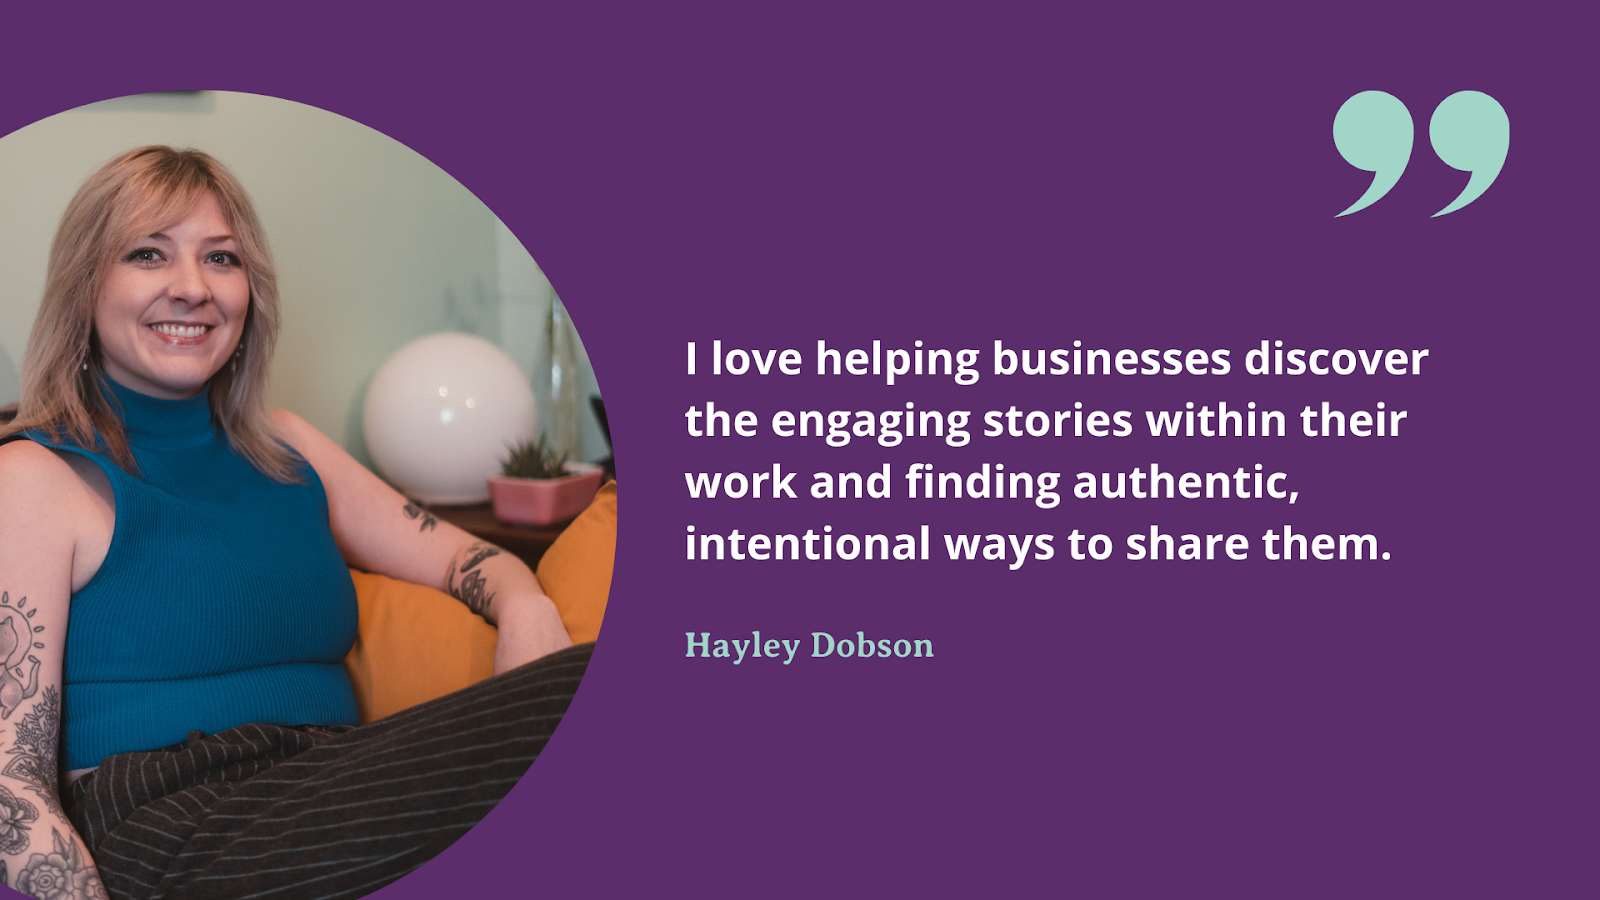
Hayley is always interested in how brands show up outside their brick-and-mortar locations. She enjoys finding the stories within clients’ work and sharing them in an engaging way.
How Can Businesses Create Community Around Their Brand?
There's something special about providing people with the opportunity to have an experience with your brand - to create a memory.
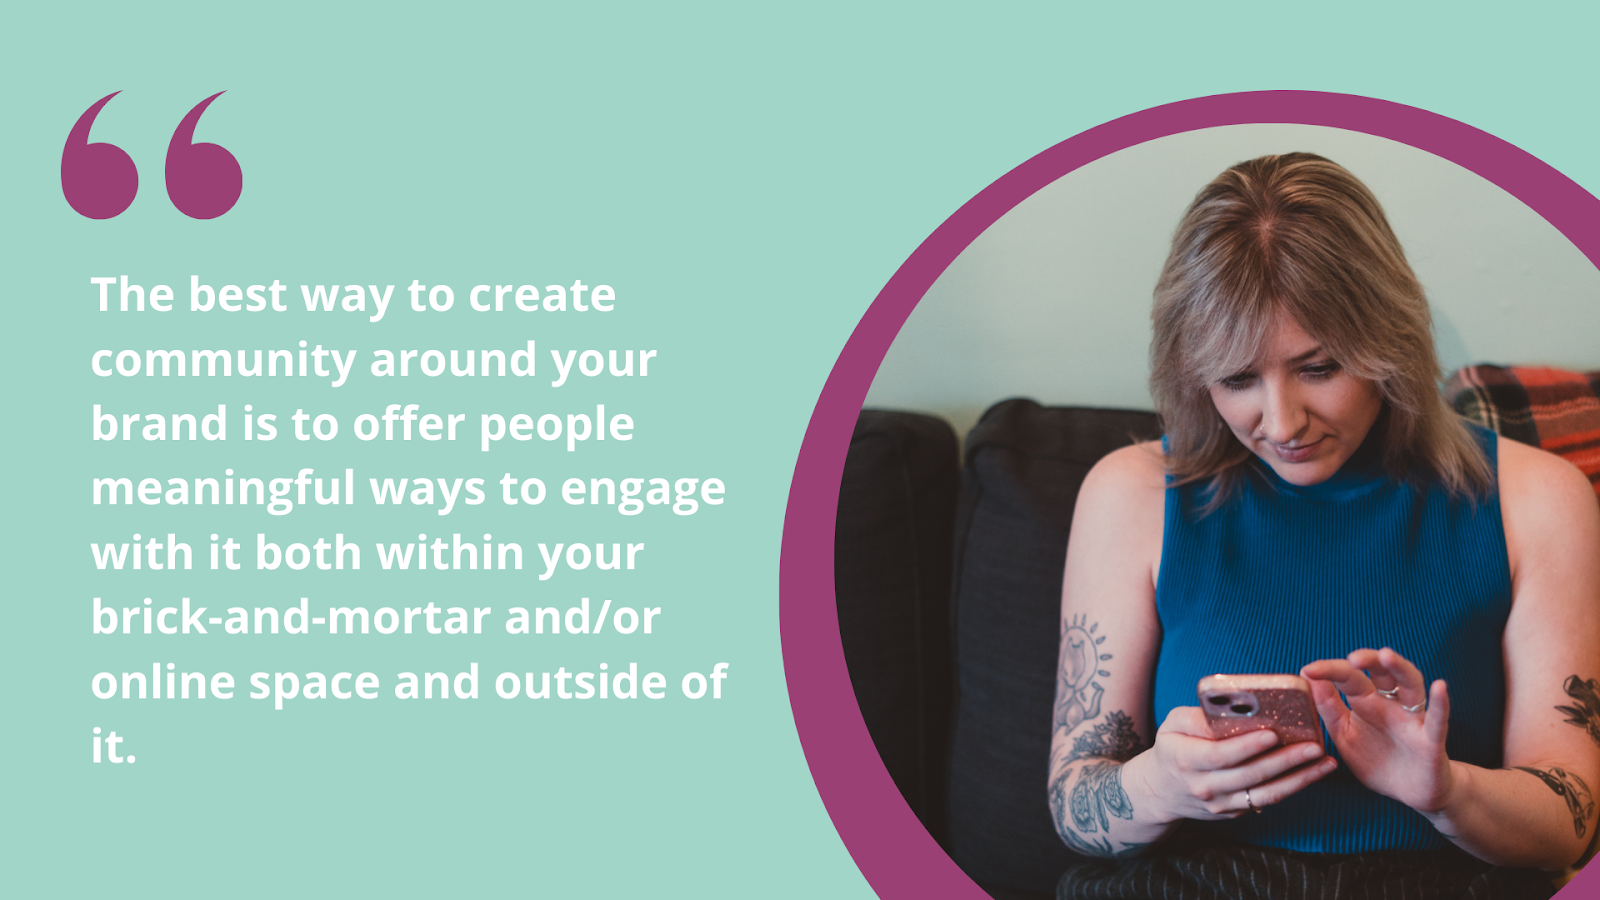
Hayley says the best way to create community around your brand is to offer people meaningful ways to engage with it both within your brick-and-mortar and/or online space and outside of it.
Utilize experiential marketing in a way that works for you, whether that looks like hosting an event, going live on Instagram to answer questions or provide information, or offering surprise and delight moments in your store. Collaborate with other businesses who believe what you believe to help grow your reach. And most importantly, make people feel valued and cared for.
These actions create an emotional impact that drives awareness and brand resonace,
If you’re looking for someone to tell your stories and add personality and colour to your digital marketing strategy, reach out to us here.
How To Do An Email Marketing Audit
- by Alicia Kurz
If you’re a business owner, don’t sleep on email marketing. 99% of consumers check their emails every day. When we say “reach your audience where they are at,” email marketing is exactly what we’re talking about.
Yes, they probably are also on their social media platforms, but did you know that only 10% of your followers will see your post on Instagram? And that’s if your image or video caught their attention long enough for them to stop scrolling.
It's not that Facebook isn't important for your business, but if you want direct impact and reach, email marketing has no competition.
This blog will guide you through how to do an email marketing audit so you can take a close look at your strategy to maximize your return on investment.
Let’s talk about why audits are important, how to do one, and what they are.
Why an Email Marketing Audit Matters
Email marketing gets results. For every dollar spent, the average return is $40. The campaigns help you build relationships with your customers by sharing updates, offers, and valuable content, leading to greater brand loyalty and repeat business.
Your strategy shouldn’t just be “send an email.” Each newsletter should be strategically crafted to reach your marketing goals. Whether you’ve been sending emails for decades or your first one is in your drafts, doing an audit will maximize the impact of your campaign.
The goal of an audit is to take an honest, unbiased look at what's working, what's not, and where you can make improvements. By reviewing your email list, content, timing, and overall strategy, you can identify areas to optimize and make data-driven decisions to increase open rates, boost CTRs, and drive better results.

Components of an Email Marketing Audit
If the word audit casts a sense of dread over your body, we feel you. Just remember, it’s not telling you what you’re doing wrong, but more guiding you in the right direction. Here’s what you should look at when doing an email marketing audit:
Subscriber List
Make sure your subscribers have opted in. You don’t want to talk to people who aren’t into you anyway. Regularly clean out inactive subscribers to boost engagement and segment your list to more effectively target different audience groups.
Personalization
Identify key moments in your customers' journey to send timely messages. Automated messages like welcome emails and abandoned cart reminders can be personalized. Keep testing and refining your approach to see what works best.
Performance Metrics
Review metrics like open rates, click-through rates, and conversion rates. This helps you see what’s working and where you can improve.
Compliance
Follow email marketing laws like Canada's Anti-Spam Legislation. Get explicit consent, provide clear information, and allow easy opt-outs. This helps you avoid legal issues and build trust with your subscribers.
Content
Look at your subject lines, messages, visuals, and calls to action. Confirm they are interesting and personalized to keep your audience interested. Test different elements to improve your results.
Deliverability
Currently, the best time to send an email blast is 10am on Tuesday, Wednesday or Thursday. Make sure your emails bypass the junk folder by maintaining a good sender reputation, using proper authentication, and avoiding spammy language. Monitor deliverability (like with monthly reporting — a service we provide to our clients) to catch any issues early.
How To Do An Email Marketing Audit In 6 Easy Steps
We’ve tackled the “what” and the “why,” now for the “how.” These six steps will make the process a bit easier.
1. Set Your Goals Decide what you want to achieve with your audit. Are you aiming to boost overall performance, improve deliverability, or refine your content? Knowing your goals will help shape the audit.
2. Choose Your KPIs
Key Performance Indicators are what measures your success. These are things like open rates, click-through rates and conversion rates. Setting clear goals will help you see what’s working and where you need to adjust.
3. Create a Spreadsheet
If you’re not a spreadsheet girly, trust us when we say it’s for the best you become one in this case. Track details like campaign names, subject lines, audience segments, open rates, click-through rates, and unsubscribe rates. This helps you keep everything in one place and helps you spot trends.
4. Gather and Organize Data Compare your metrics with industry standards and past performance to find trends and areas for improvement.
5. Analyze What Works Look into why some emails performed better than others. What made the successful ones stand out? Figure out how to replicate that success in your next campaigns.
6. Make a Plan
For all the other creatives crying out there, we’re on the last step! Make a report with clear takeaways and then start implementing and testing your new ideas. It will work!
We like to make ourselves an email audit checklist so we can get a dopamine hit after we complete each of the 6 steps. Bonus points if you add a little treat for yourself after you complete the audit.

Conduct Regular Audits
Email marketing audits will give you valuable insights to make a clear action plan that lines up your email marketing with your business goals. Whether you're focusing on list health or doing a full audit, following this framework will make it easy. Start focusing on what works and ditch what doesn’t.
If after reading this email marketing suddenly jumps to the top of your to-do list, we’re ready to help! We also happen to have an extremely high open rate on our own newsletter at 45-49%. Humble brag, but the industry average is 21.5%.
Contact us here to get started on your next email marketing campaign.
Meet Tineke Buiskool-Leeuwma
- by Alicia Kurz
Tineke is like the personality hire — except she’s also full of the talent, passion and creativity that makes Starling thrive. No bad vibes, only impeccable work and lots of sparkle. How did we get so lucky?
If you’re interested in working with Starling Social and wondering what it would be like, keep reading to get to know one of the stars of our team.
Personal Life
“Involved” is one of the first words we would use to describe Tineke. This woman does everything! You can find her supporting local shops and restaurants, on neighbourhood tours, attending community events, and joining book clubs. Essentially, any fun activity going on in Winnipeg, Tineke has done or plans to do. She was even asked to give a Pecha Kucha talk about being a tourist in your own town!
She loves our city so much that she has the Winnipeg skyline tattooed on her shoulder, which balances the wheat tattoo on her other shoulder, showcasing her country and city roots.
We are very font of her “bee’s knees” tattoo because it showcases her love of typography and puns. She’s just our type! The Futura looks bright for this one... okay, we will stop.
Work Life
Tineke graduated from the Red River CreComm program in 2004. She immediately put her skills to use with mall and area marketing — she’s worked for five different malls in Manitoba and Alberta and two business improvement zones.
“I love these industries as my work supported small businesses and a lot of local, independent owners! I became a Certified Marketing Director (CMD) through the International Council of Shopping Centres (ICSC) and graduated from the Winnipeg Chamber of Commerce Leadership program (a program I highly recommend)!”
All this experience, combined with Tineke’s love for local businesses and inherently supportive nature makes her the perfect fit for the Starling team (and probably your business).
Tineke loves it all when it comes to her job. In fact, the variety is what makes it so exciting.
“I am super partial to writing for social media, e-newsletters and blogs. I love a great campaign, but supporting the ongoing work for a client is also super rewarding because you get to see it grow over the long term.”
The results of ongoing work with clients is just as rewarding for us as it is for them!
You could likely guess that Tineke is an avid reader, so working with a local publisher on their social media has been a highlight of working with Starling.
“It was incredible to learn more about the behind-the-scenes of the publishing world, plus learn more about talented authors and illustrators.”
Working With An Agency
We often hear about how marketing is the next thing on the to-do list, but the creativity and time it takes just aren’t available.
TBH, we’re creatives, we love this sh*t. We understand you are so busy that you don’t have time for consistent posting, messaging, or marketing. This is where working with someone like Tineke can help support your initiatives.

Working with small businesses is awesome because the time from idea to execution is really cut down. We work with your team, as an extension of your business, to tell your story. Even if you have a marketing or communications team and are looking for a little extra support, we can jump in with whatever your needs are. Sometimes, clients need a bit extra support to allow their current team to focus on other initiatives.
“One way I like to support is by creating educational and informative content so that there is a consistent brand presence and the on-site team can share the day-to-day and behind-the-scenes content. It tends to flow really well together, and the output ticks all the boxes: educational, informative, and entertaining!”
Ongoing Support v.s. One-Off Projects
Tineke loves building relationships with her long-term clients, which goes hand in hand with strengthening marketing strategies. The payoff of seeing the results of that creativity and partnership is really rewarding.
However, she says short-term support is also a lot of fun for both parties! Whether it's supporting an event (eg: a conference), a product launch or a marketing campaign, the Starling team can deliver on these shorter projects!
“The best part is that we can help with whatever you need.”
If you’re interested in leveling up your social media game, or have a project you could use some help with, reach out to us here.
And to end with a smile, as you do when meeting Tineke, we leave you with a final Typography joke:

The Green Wave: Sustainable Marketing Practices for 2024
- by Alicia Kurz
Put a finger down if you’re feeling the impact of people destroying our planet. Put another finger down if you want to do something about it. If you have two fingers down, this post is a great place to start.
With 75% of young people frightened about the future, you aren’t alone. The current vibe among young people is that even if I didn’t make this mess, it’s still my job to clean it up — which is great, but unfortunate that we are here.
The “silver lining” in our current state is that it’s pushing companies to want to make a change — but we’re so damn busy we don’t know how and don’t have the time to learn how.
This blog outlines why people are going green, ways your biz can switch to sustainable marketing practices, and examples of companies doing right.
The Rise of Green Consumerism
Fear is a pretty good motivating factor. With the doomsday clock still at 90 seconds to midnight, the push for immediate climate action is strong. It turns out the best way to make our voices heard is with our wallets.
People are increasingly aware of the impact of their purchasing power — and we love to see it. Sustainability is a key driving factor for buyers, with 85% of consumers making more “green” decisions.
- 64% of consumers want brands to remove plastic packaging.
- 88% of people want brands to help them be more ethical in their daily lives.
- 72% of respondents are buying more eco-friendly products than they did five years ago.
While drastic change is what we need, baby steps like buying eco-friendly products make people feel like they are doing something tangible. People will pay more for items made responsibly and sustainably.
It seems reasonable to assume that this green trend will continue to grow. Companies that align with consumer values stand a better chance of sticking around.
Now is the time to look at your products, packaging, and how you run your business in a more eco-friendly way.
How to Incorporate Sustainable Practices in Your Business
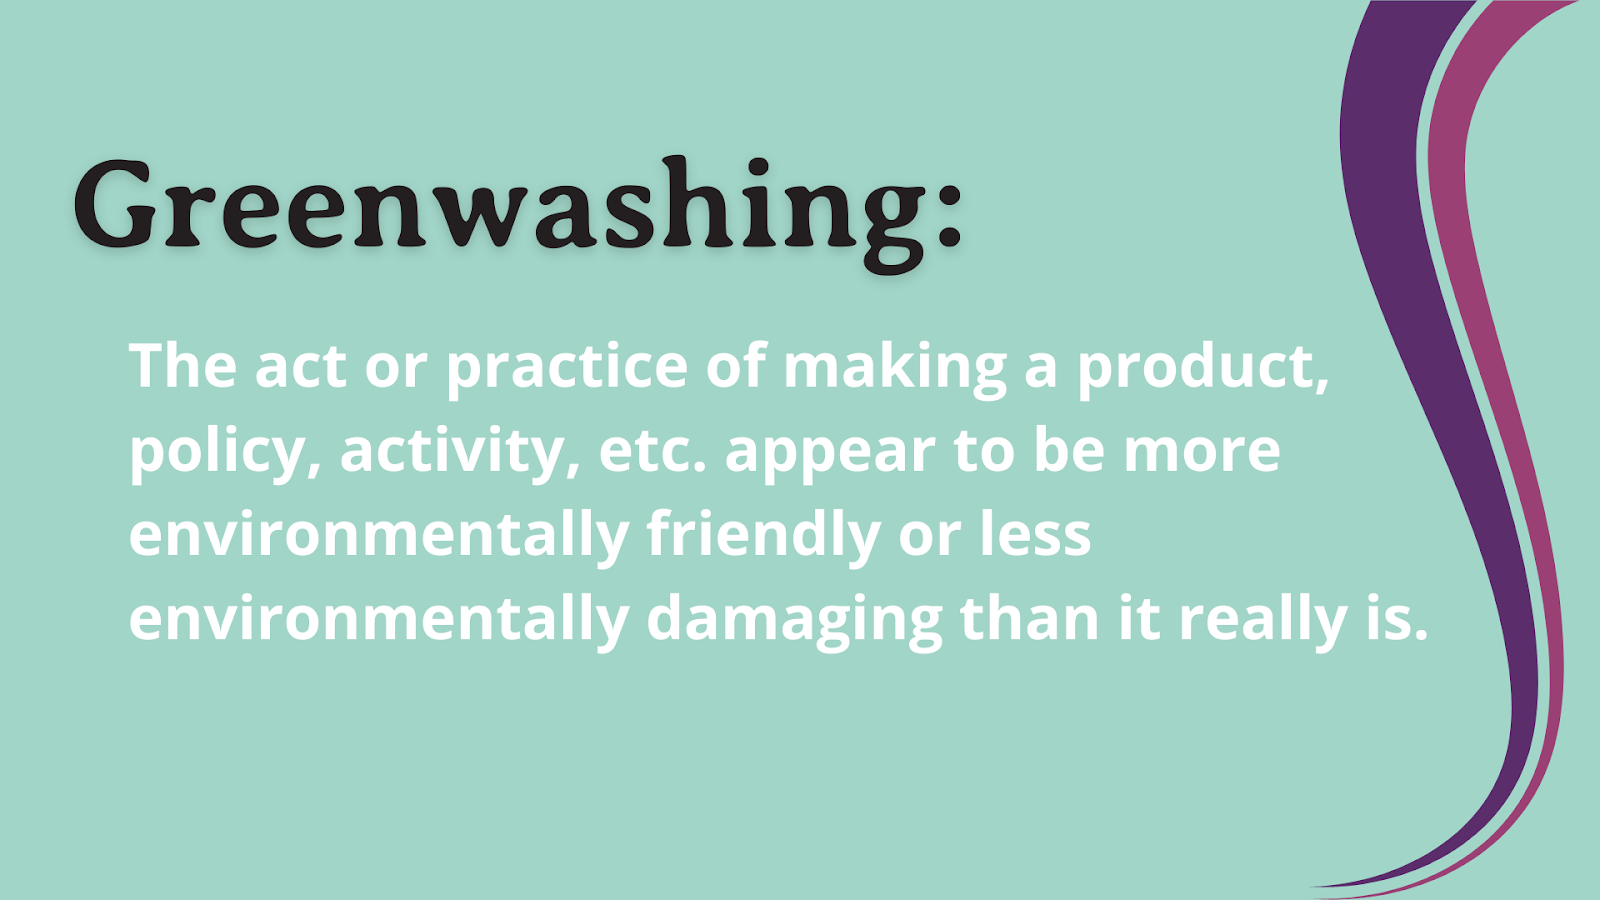
If you’re looking to make a change, the first thing you need to do is find out how to spot greenwashing and avoid doing that at all costs. Consumers are wise, cancel culture is strong, and the point is to truly make good choices.
Be Transparent
When a company is truly making a difference, it wants to share real facts and figures. Make a dedicated page to share how your green practices. This is where you put your numbers and clear explanations. Keyword you should include on your website (and what to look for on other sites) include:
“footprint”
“annual report”
“impact assessment”
“sustainability report”
Spot Greenwashing: Watch out for questionable wording and a lack of information.
Ex. If clothing says it’s recycled, look for the percentage. Sometimes, using recycled content isn’t very eco-friendly because the recycling process uses a lot of energy. If you don’t see specific numbers, that’s a red flag.
Get Certified
This is a tricky one because not all certifications are equal. In fact, some you can simply buy. Others require renewals, which keeps your company accountable for upholding your sustainability commitments.
From what we can tell, these are some generally trusted third-party programs you may want to consider for your business and in your own purchasing.

If you are confident in your sustainability practices, you can apply to be on apps like Ethical Consumer, or if you’re in the fashion world, apply to be rated Good On You.
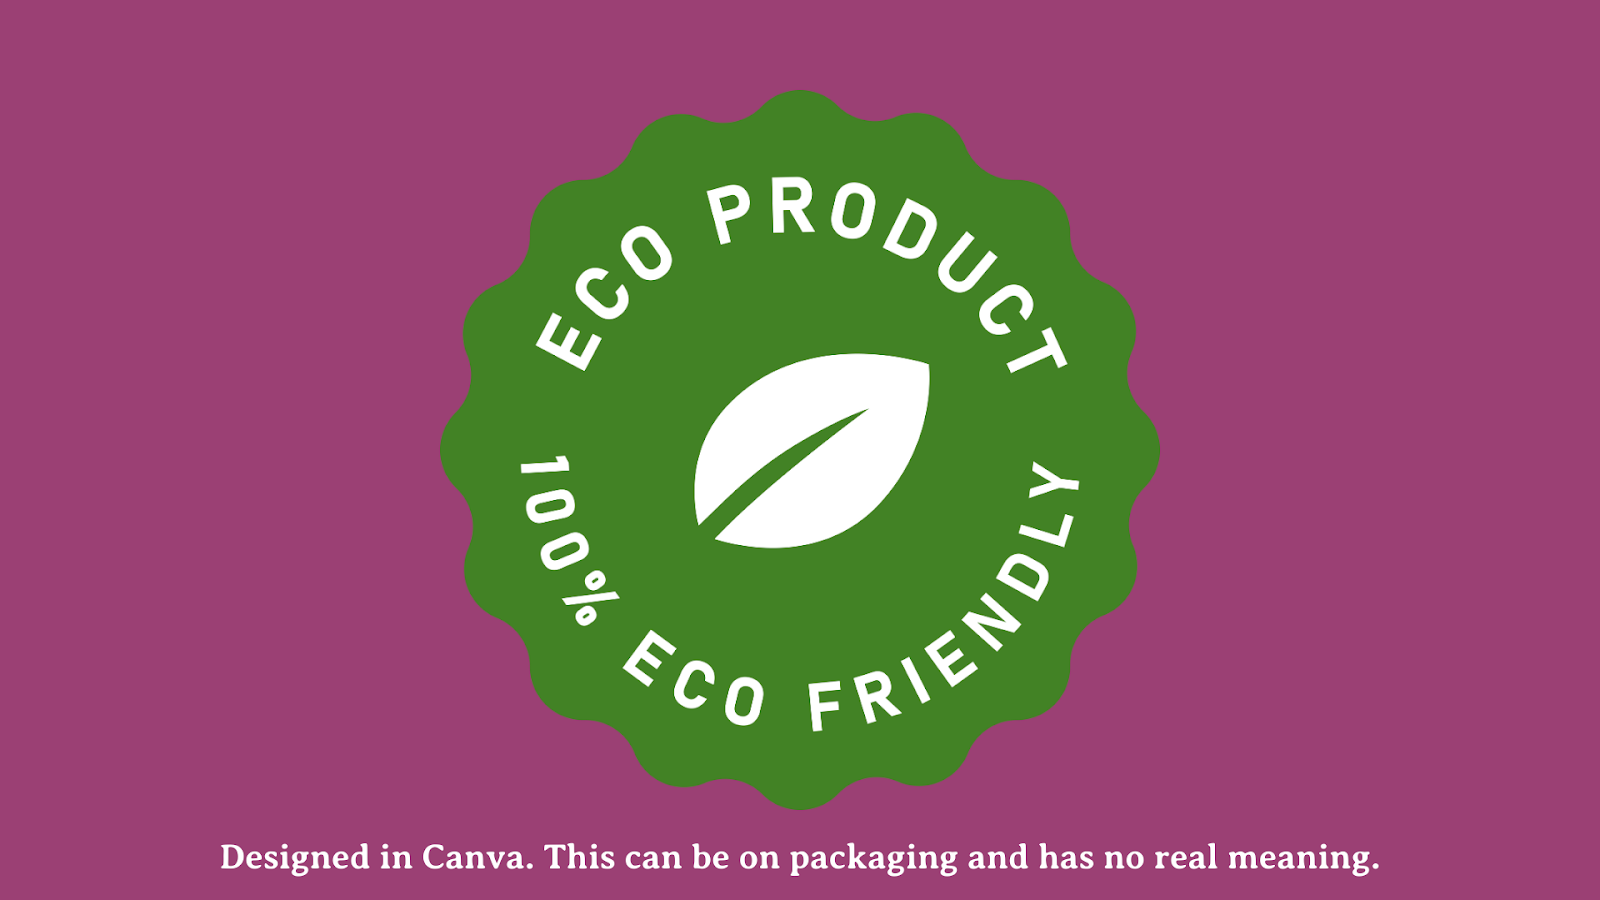
Spot Greenwashing: Some companies use misleading branding. Depending on their regional laws, there may not be any repercussions. In reality, they can design a “green” stamp and put it on their packaging.
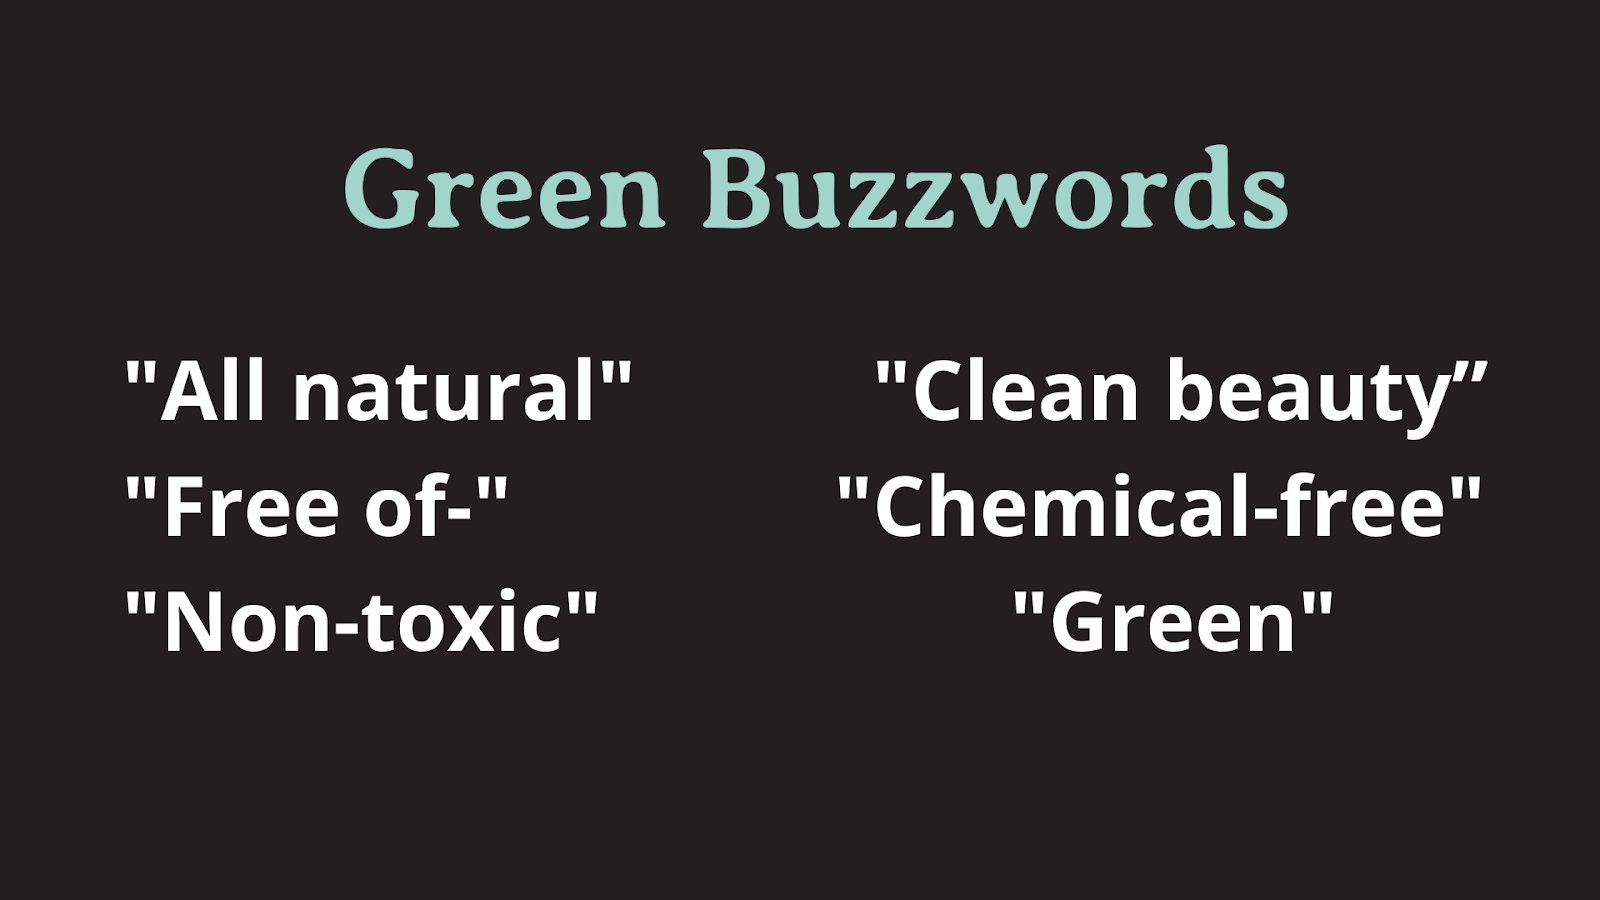
Be Specific With Buzzwords
Canada passed a law on June 20th, 2024, saying if you make an “environmentally friendly” claim on your product, you have to prove it. Until now, nothing prevented companies from putting an “eco-friendly” label on their products, even if the product is far from sustainable.
These buzzwords can still be used deceptively, so the more information you can provide about them, the better.
Copy should be a tool for storytelling, connection, information and honesty. It should address your target’s pain points and how to fix them. Does your audience feel empowered after their purchase? How can you make them feel good? Scare tactics and buzzwords may grab an initial sale, but a genuine connection with your customers will keep them coming back.
If your product is “non-toxic,” for example, tell them what the industry standard is, why you chose what you did, and the benefits of your ingredients.
Words like “chemical-free” are hard to substantiate because everything is made of chemicals.
Spot Greenwashing: When you use words like “free-of,” the substance can still be present in trace amounts or be marketed on products that never would have contained it in the first place.
Just look at A&W’s page:
…Since 2013 we’ve been serving beef raised without artificial hormones and steroids, and now all our beef is also grass-fed and grass-finished…
But In Canada, the level of synthetic hormone residues that can be left in beef is zero. Seems pretty shady.
Focus on a Circular Economy
Smart business owners are now looking at the circular economy. This idea is about using resources for as long as possible, getting the most value from them while they're being used, and then recycling and regenerating products at the end of their life. Explaining how your brand helps with the circular economy can be a great way to attract customers.
One of our clients, Patent 5 Distillery, has a heavy focus on sustainability embedded into its brand.
Their location is in a historic building, repurposed as a cocktail bar and distillery. They used reclaimed stained glass, doors, wood panelling and other elements from the original building to create their cozy setting.
If they can source the ingredients for their craft spirits from a local supplier, they do. Everything from the grains to the spruce tips and berries are from Manitoba. This means lower greenhouse gas emissions from transport. Nothing goes to waste! Even their spent grains are sent to local farms to be used for feed.
They even invested in a 900-gallon water recirculating system to reduce their water waste, and their whisky barrels are reused.
Anything you purchase from Patent 5 is mashed, fermented, distilled and bottled in-house. Customers are encouraged to return their bottles to Patent 5 for reuse.
These notes are listed on their website and revisited on their social pages to communicate their commitment to sustainability.
Work Remote
We know this isn't possible for every company, but it is for many, and we don't understand why more companies wouldn’t embrace it. Starling Social is a completely remote company, and not only does it offer more opportunity for a work-life balance, there are several environmental benefits.
Reduced Carbon Emissions: Our carbon footprint is lowered because we don’t have people commuting to an office every weekday.
Lower Office Energy Use: Another space means more heating, cooling, lighting, chargers, appliances, etc. We aren’t using any of that!
Reduced Paper Use: We’re all digital. We’re not even sure if any of our team members own a printer. Save the trees!
Less Plastic Waste: Let’s get real, if we’re in the office, were going to be snacking, ordering lunch, even packing lunch! As much as we limit single-use plastics, straws and plastic cutlery still come with ordered food.
Since Starling doesn’t have these overhead costs, it also allows the team to be paid more. It’s a win for everyone. Remote work supports sustainability goals and fosters a greener future for everyone — and we will die on that hill.
Talk About It
Write your story, then tell it. Define your green goals, how you plan to meet them, and let your audience know! It doesn’t have to be all or nothing.
Unfortunately, some parts of going green can have a high initial cost (think solar power), but it’s motivating to see your own sustainability journey unfold, and you will naturally get cheerleaders along the way. Challenges along the way are relatable. Ask for advice, stories, and ideas. This is another way to encourage two-way conversations with your audience.
Use Eco-Friendly Packaging
Everyone sees your product's packaging, and using eco-friendly packaging sends a strong message. Choose materials that can be recycled or break down naturally, like biodegradable options or those made from recycled materials. Show that you care about cutting down on plastic waste and remind customers to recycle—plus, it’s another way to communicate your sustainability practices with your audience.
Make Your Consumer The Hero
Good marketing campaigns focus on what your company is doing right, but great marketing campaigns make your client the hero. It’s their purchase that allows your business to run, which allows the local businesses you support to thrive, which reduces our carbon footprint by limiting cross-country or global trasnportation emissions.
Make sure you’re letting your customers know the impact of their purchases!
Companies Doing It Right
Patagonia
Patagonia, an eco-friendly outdoor clothing company, is often leading the charge in sustainability.
Their motto, "We are in business to save our home planet," rings true. They donate 1% of sales to environmental causes, use recycled and organic materials, and aim to be carbon neutral by 2025. Their program, Patagonia Action Works, connects people with local environmental groups.

Ben & Jerry’s
Ben & Jerry’s Climate justice campaigns are clever, informative, and eye-catching. Their partnerships stress how climate change can be accessible and that we don’t need to focus on fear to make action happen.
Their climate plan, approved by the Science Based Targets Initiative in 2018, aims for 100% renewable energy by 2025 and significant reductions in greenhouse gas emissions by 2025 and 2050. You can track their progress in their Social and Environmental Assessment Report.

Tentree
Karma Wallet rated Tentree the best overall sustainable fashion brand of 2024.
Their plan is to work towards a world where businesses are leading the change we need, placing the planet and people first. Tentree gives back to its communities, creates ethical and sustainable products, and offsets its emissions. They hope to show what a planet-first business can look like.
At this point, every step counts for businesses embracing sustainability. Practices like remote work, eco-friendly packaging, and avoiding greenwashing so consumers can make conscious decisions all contribute to reducing your environmental impact.
When businesses Integrate these strategies, they can contribute to a greener future for everyone. If you’re interested in working with a company that wants to help communicate your environmental action plan, contact us here.
B2B vs. B2C Copywriting: What Are the Differences and How to Do It
- by Alicia Kurz
If you’re using the same copy to communicate to your consumers as you are with other businesses, you need help with your comms strategy.
Your copy might be the first impression for buyers or company owners interacting with your business, so you probably want that messaging to be different — but for both to stand out in their own way.
B2B vs. B2C copywriting is about adjusting your copywriting to cover the values, pain points, and solutions for each of your audiences.
For example, if a person walked into your store you wouldn’t tell them the profit margins you’re making on each product, you’d tell them about how each item is hand-crafted and lasts a lifetime — something that aligns with their values and solves their problem.
If you’re not sure how to differentiate your copy for both audience types, then keep reading! This post covers the difference between B2B and B2C writing, how to shift your writing style, and everything else you need to know to improve your messaging.
B2B + B2C Copywriting Explained
In case you need a refresher, B2B=Business to Business and B2C=Business to Consumer.
B2B copywriting is all about talking to people “in the biz” of whatever industry you’re in.
Business writing allows you to get technical, highlight the features and benefits, and show how your product or service can make their lives easier. It's a bit more formal and focused on the bottom line.
B2C copywriting focuses on building personal connections with customers.
The goal is to tug at their emotions, paint a picture of how your offering will improve their lives, and use a more casual, conversational tone.
The key is to know your audience. Are you talking to a procurement manager or a busy mom?
Adjust Your Style for B2B vs. B2C
The tone and language you use will make a big difference in how your message is received. If your target is business professionals, you can use industry jargon they’ll understand. For example, if we’re speaking to social media managers, they’ll understand:
“We are going to use our USPs to create content and track our monthly KPIs in our handwritten reports.”
If we’re talking to clients about our content strategy for them, we would adjust that language to something like:
“Let's talk about the things that make your company special on our social media channels. Every month, we’ll measure things like how many people saw your content, clicks to the website, and comments on your posts to see how your posts are performing.”
Both of these say the same thing, but our messaging changes depending on who we are talking to.
For B2B writing, you'll generally want to take a more formal, professional tone. Use clear, concise language and avoid slang or overly casual phrasing. Focus on communicating the value proposition and addressing the specific needs of your business customers.
.
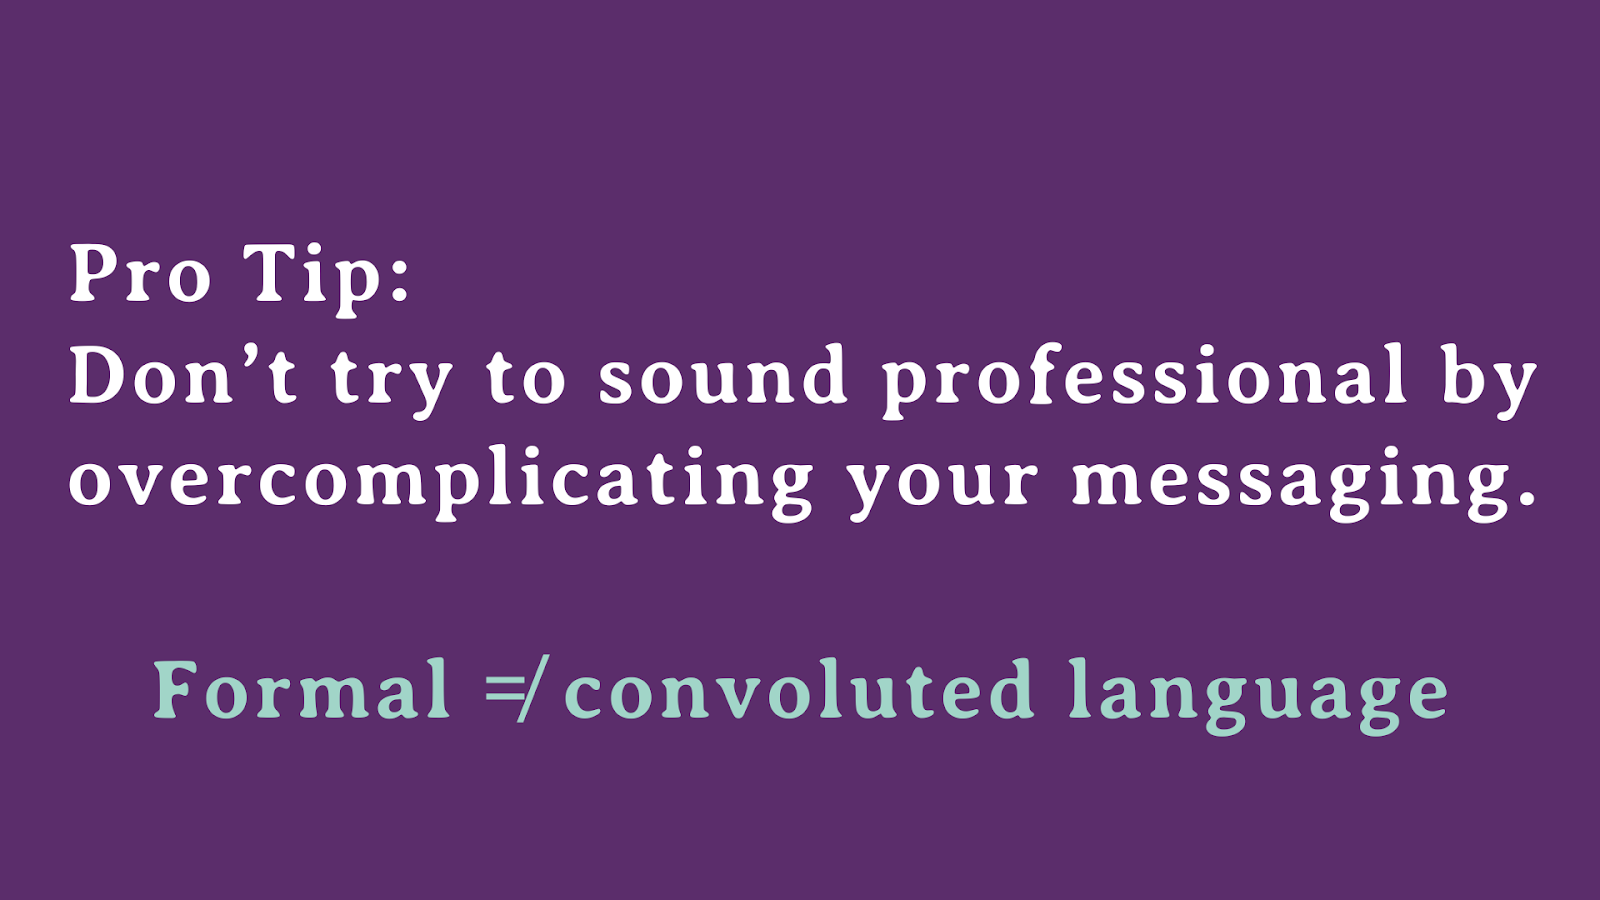
B2C writing can be more conversational and relatable — our favourite kind of writing. You can use a friendlier tone, incorporate relevant cultural references, and even inject humour (if appropriate). This will help connect with consumers on a more personal level.
Copywriting for Consumers
Consumers are bombarded with marketing messages, so we want to cut through the noise with writing that is genuine, relatable, and provides value. Here’s what we're working towards when we’re writing for consumers:
Building Trust
People can spot a sales pitch from a mile away. Communication that stands out is transparent and authentic. That’s the same reason why carefully curated Instagram feeds are out and spur-of-the-moment, talking-to-the-camera storytelling videos are in.
Great B2C writing puts the customer first and respects their time. Get to the point! If you can capture their attention, meet their needs, and forge an authentic connection, you're well on your way to driving conversions and building loyal brand advocates.
Creating Recognizable Content
In this economy, people are doing their research before making a purchase. They are checking out your competition, reading reviews, adding to cart, and hopefully ending up back on your site when they finally hit the checkout button.
That’s why your messaging has to be memorable and consistent across all your marketing channels. When people come back to your site, they should recognize (and feel familiar with) your brand tone, messaging, colours, fonts and vibe.
Solving Their Problems
Find out what your audience is looking for and deliver that to them in your copywriting. Build up your audience personas, figure out their pain points and values, and craft your messaging around that.
Feeling Something
There’s a reason we compile a list of the best holiday commercials every year. They make us laugh, cry — or just feel something in general. Talented copywriters provide engaging perspectives to encourage readers to think differently and see things in a new light.
Copywriting for Businesses
Businesses are looking for similar things that individual consumers are, but also make it ✨profitable✨. Copywriting for businesses also need a marketing perspective to help them make informed purchasing decisions. They want content they can:
Quickly Skim
We said it before and we’ll say it again: clear and concise content for the win. Business owners don’t have time to pull out the information they need from a large document. Think elevator pitch. If you have two minutes to “sell” your product or service, what are you going to say? Put the important information first, and make sure the key points are highlighted. If that draws enough interest, then they can go back and get more details to make their final decision.
Easily Understand
In copywriting for business, industry jargon is your friend and that is the ONLY time we will say that. The more you know about the company’s processes, policies, culture and lingo, the easier it will be to position your product in a way that fits with their brand.
Look at Facts + Stats
Successful B2B copywriting hinges on showing how your product or service boosts your customers' profitability, using content that provides evidence and facts. This can look like product reviews, case studies, engaging articles or comparison charts. These guide buyers through the sales journey with real customer feedback and a clear view of your strengths.
The B2B crowd prefers a straightforward approach that demonstrates how your solution positively impacts their bottom line.
The Benefits of Tailoring Your B2B + B2C Copywriting
Tweaking your copywriting for each audience will improve your marketing efforts. Successful copywriting should result in:
- Increased engagement and conversions
- Authentic connections with your audience
- Loyal customers who feel like your brand aligns with their values
Do You Need Help With Copywriting? We Do That!
Writing different versions of your key messages can be a daunting task for busy business owners — so let us help!
We recognize that diverse businesses have different writing needs. Some thrive on a friendly, approachable style, while others demand a more formal tone.
That's why our team of copywriters excels in both B2B and B2C writing. Whether you’re after it's compelling marketing materials or punchy website content, count on us!
Contact us today to get started on your next project.
Meet Andrea Danelak
- by Alicia Kurz
Andrea Danelak is the kind of person you notice when you walk into a room. You can easily spot her bright (and ever-changing) hair colour, big smile, and always a cute fit — which is exactly like her writing: it’s confident and stands out.
When you work with Starling Social, we get to know all the small details of your brand so we can seamlessly integrate as part of your communications team. When we work so closely together, we get to know each other pretty well. If you get the pleasure of working with Andrea, this blog will jump-start your relationship—and if you’re just here to get to know our team, welcome!
Work Life
Andrea has her Bachelor of Arts in Communications and a Journalism Diploma from Red River College. She’s worked in various communications, marketing and publishing roles for almost 20 years.
“I quit the corporate world two years ago and I haven’t looked back. I’m happy to freelance and be a part of teams like Alyson’s where I can still have that team environment, but also a lot of independence in my work.”
Having someone on the Starling team who can easily crack an introvert open is a serious asset. Her charismatic nature draws people in, and her communications background cuts through the small talk and gets people excited to talk about their passions.
Her favourite projects are anything that involves writing. Particularly if it’s a subject she’s unfamiliar with.
“I love diving into a niche or an industry and then challenging myself to learn the lingo so that I can write about it in a way that seems credible — like I’m an authority on the topic.”
Andrea’s passion for writing glaringly shines through in her work — and it’s not just us that thinks so!

One of Andrea’s favourite projects with Starling was working with a local book publisher on their social media. As a voracious reader, she had a lot of fun interacting with fellow book nerds and writing book puns in the copy. Plus, she felt proud promoting of Canadian authors.
In terms of Canadian authors, she likes Waubgeshig Rice, Alicia Elliott and Craig Davidson (pen name: Nick Cutter). She liked reading Amy Leblanc's Homebodies and is excited to see what she writes next.
Personal Life
When Andrea’s not writing, she runs a softball team or leads a book club. They just finished The Sundown Hotel and are diving into Lessons in Chemistry. She also dabbles in creative writing.
Andrea has three cats who are always by her side when she’s working. They are her little office mates: Engelbert Humperdinck, Merlin and Harvey Danger. Her husband adopted Harvey Danger from the Humane Society, so they didn’t feel like they could change his name — not that they should want to!

A lot of the Starling team, including Andrea, share two interests that have nothing in common: gardening and attending local wrestling matches.
Between your latest garden yield, TKOs, furry friends, and living in Winnipeg, it’s pretty hard not to find something to talk to Andrea about, which is one of many reasons why we love having her on our team.
Word Nerd
Andrea loves grammar, so much so, that her Instagram handle is @WordNerd_Wpg. Naturally, we had to do a grammar Q&A.
Why is good grammar important for brands to consider?
One of the top reasons is clarity in your messaging. Good grammar improves the accessibility of your messaging. The biggest point is that good grammar should be part of how you present yourself to the world.
If you can’t tackle the basics like writing with good grammar, how are audiences supposed to trust you as an authority on a topic?
Does that mean it needs to be perfect? Absolutely not. I make mistakes, everybody does, but tools like spellcheck exist for a reason, so use them.
If you could banish one grammar mistake from the English language forever, what would it be and why?
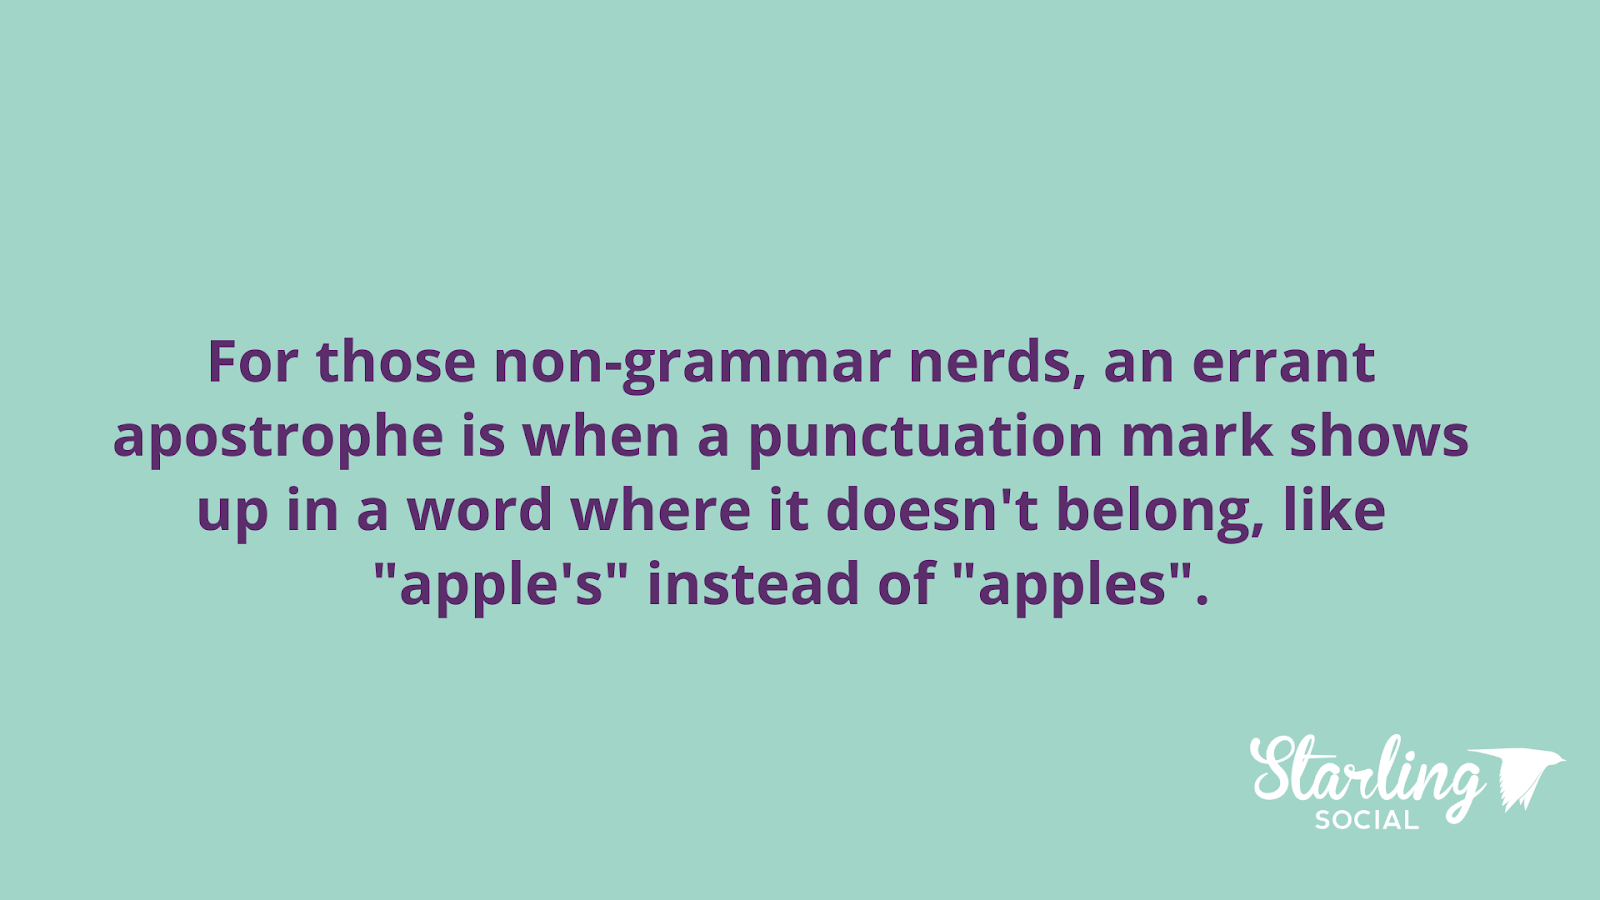
I had to think long and hard about this, because there are a lot of things that I would ban. I’m going to go with errant apostrophes, because they are often misused. When that happens, the meaning of the sentence has likely changed too. I’ve seen some really brutal examples over the years, like articles, business signs and even Christmas cards.
What grammar rule do you break in your own writing?
Most people recommend not overdoing it with em dashes, but I can’t help myself, and I use them pretty freely.
I love a good em dash! Can’t stop, won’t stop.
Why do you hate the Oxford comma?
This is going to cause a lot of debate because it always does with other grammar nerds. I don’t feel like it is a particularly useful form of punctuation 99% of the time. There are certain instances where it does add clarity, and I will give it that, but for the most part I feel like it’s just not necessary, and I am happy to debate that until the cows come home.
Thoughts on exclamation points
One of my old bosses said, “You get 5 exclamation points in your lifetime to use in your business writing,” so I always think back to her when I write something for business. I still overuse them, especially in emails. Sometimes, you have to buffer those harsh statements with a nice, friendly exclamation point.
If you want to debate the Oxford comma, talk local wrestling or talk about working together on your next digital marketing project, you can reach Andrea here.
9 Non-Cringey Ways to Celebrate Pride Month
- by Alicia Kurz
When you know better, you do better, and in 2024, we know better than to change your company logo to a rainbow and do nothing else for the 2SLGBTQIA+ community.
Pride is a big month for us at Starling as we’re a queer-owned company and several team members are under the rainbow, so we always like to be loud and proud in our celebrations. That being said, if your brand doesn’t scream from the rooftops about the support you give to various holidays and causes, that’s okay too.
Here are 9 non-cringey ways to celebrate pride month for your business.
1. Share Your Pronouns
Listing your pronouns is an easy way to create an inclusive work environment for trans and non-binary people. This also helps with clear communication for the many people with androgynous names like Hadley or Teddy. It’s a free way to respect your team.
- Zoom
- Business Card
- Email Signature
- Messaging Apps
- LinkedIn and Other Social Media Profiles
2. Shop at Queer-Owned Businesses
Small businesses frequently encounter discrimination and hurdles that larger counterparts don’t. Supporting LGBTQ2S+ businesses through your purchases can help support the community and promote inclusivity.
Our city has many incredible LGBTQ2S+ businesses — and your community does, too! Do your research to find queer-owned businesses, operators, makers, consultants and specialists you can support in June.
The Rainbow Pages has an up-to-date list of queer-owned businesses in Winnipeg, which you can find here.
3. Add 2SLGBTQIA+ Resources to Your Website
With hate-fuelled rhetoric circling the internet on the daily, having 2SLGBTQIA+ resources listed on your website is a good way to signal to folks that your business is queer-friendly.
While we love seeing pride content in June, having 2SLGBTQIA+ resources live on your website year-round highlights that you don’t just serve the community when people have eyes on your business — and removing it after June is a form of “rainbow washing.”
Here’s a great article on other ways you can be more LGBTQ+ friendly with your website.
4. Make a Donation
Support the LGBTQ+ community by giving to a good cause. You can find local nonprofits to help out or pick a bigger charity that supports the community in a way that feels impactful to you.
Supporting these groups can help your company meet diversity and inclusion goals while showing that you stand by your values.
You can also make in-kind donations to places like Sunshine House, a community drop-in and resource centre focusing on harm reduction and social inclusion.
Companies are getting creative with ways to make donations, like WillowPress, a queer-owned bookstore. Their buy-to-donate program builds access to educational and inclusive books. You simply choose a monetary amount, let them know if you have a specific school in mind or a topic that is important to you, and they will do the rest!
5. Start a Reading Club
It’s like a temporary book club, but for Pride. We’re all busy, but reading one book together seems like a manageable task. Plus, it’s a bonus if your employer allows book club to happen during work hours — and why not make it a potluck while you’re at it?!
A reading club doubles as a way to support an LGBTQ+ author, and can serve as a way to educate yourself in a supportive environment.
McNally Robinson has a 2SLGBTQAI+ Recommended Reads section, a great place to start!
6. Attend a Pride Event
This seems like an obvious one because who doesn’t want to go to a drag brunch or queer ride club? But carving out time in the summer is hard. On average, more than 45 community-organized events are held during Pride Season in Winnipeg. In fact, they’ve already started! You can find the list here, and hopefully, you can find one that fits into your schedule.
7. Volunteer
Advocacy groups, health clinics, youth centres, and fundraisers supporting the LGBTQ+ community could use your help. If cash flow is tight but you want to support your queer community, consider offering your time or skills. Technology has given us new ways to give back that weren’t possible before. Think outside the box!
For example, if you are a skilled graphic designer, offer to help an organization with their next event poster or give them a print for an auction.
You can find LGBTQ2S+ organizations in your community through a quick online search or by reaching out to your local LGBTQ2S+ centre. If you’re based in Winnipeg, the Rainbow Resource Centre is looking for volunteers.
8. Share the Love
Truly, anyone can do this one, and it helps more than you think. If you LOVE the dark chocolate sea salt cookies at Black Market Provisions as much as we do, let them know! Show these businesses some love — god knows they get enough hate.
- Mail them a thoughtful letter
- Write them a Google Review
- Call them and thank them for their amazing product/service
You better believe we left amazing product reviews on every Piper & Perro scent (especially Froth) because it smells incredible.
9. Publish a Blog Post
If you’re already posting blogs, why not include a Pride Month post?
We say this with a caveat because we don’t want to see companies using pride as a marketing tactic. However, it can be a great way to:
- Share resources
- Highlight businesses in your area
- Share how your business is investing in DEI training
- Highlight that you are a safe space for LGBTQ+ folks
- Generate ideas within your team on how to celebrate
- Think about how your team can do a better job of supporting the community
To be a genuinely supportive workplace for the LGBTQ+ community, make sure your efforts create real and positive change inside and outside the workplace.
Note:
Let’s not highlight queer team members on social media unless they volunteer themselves. Not all people in the LGBTQ+ community feel safe (or want to) share their sexuality with others. Plus, who's to say you don’t have coworkers who aren’t “out” yet or who are questioning their sexuality? Their queerness is valid, too!
Language Guide
The words you use matter. We’re in a time where people are focusing on self-discovery, and we need new words for new experiences and identities. There are even people in the LGBTQ+ community that don’t get it right sometimes! However, it’s important to educate yourself and do your best when it comes to respecting people’s identities. Below is a brief glossary of commonly used words related to Pride Month.
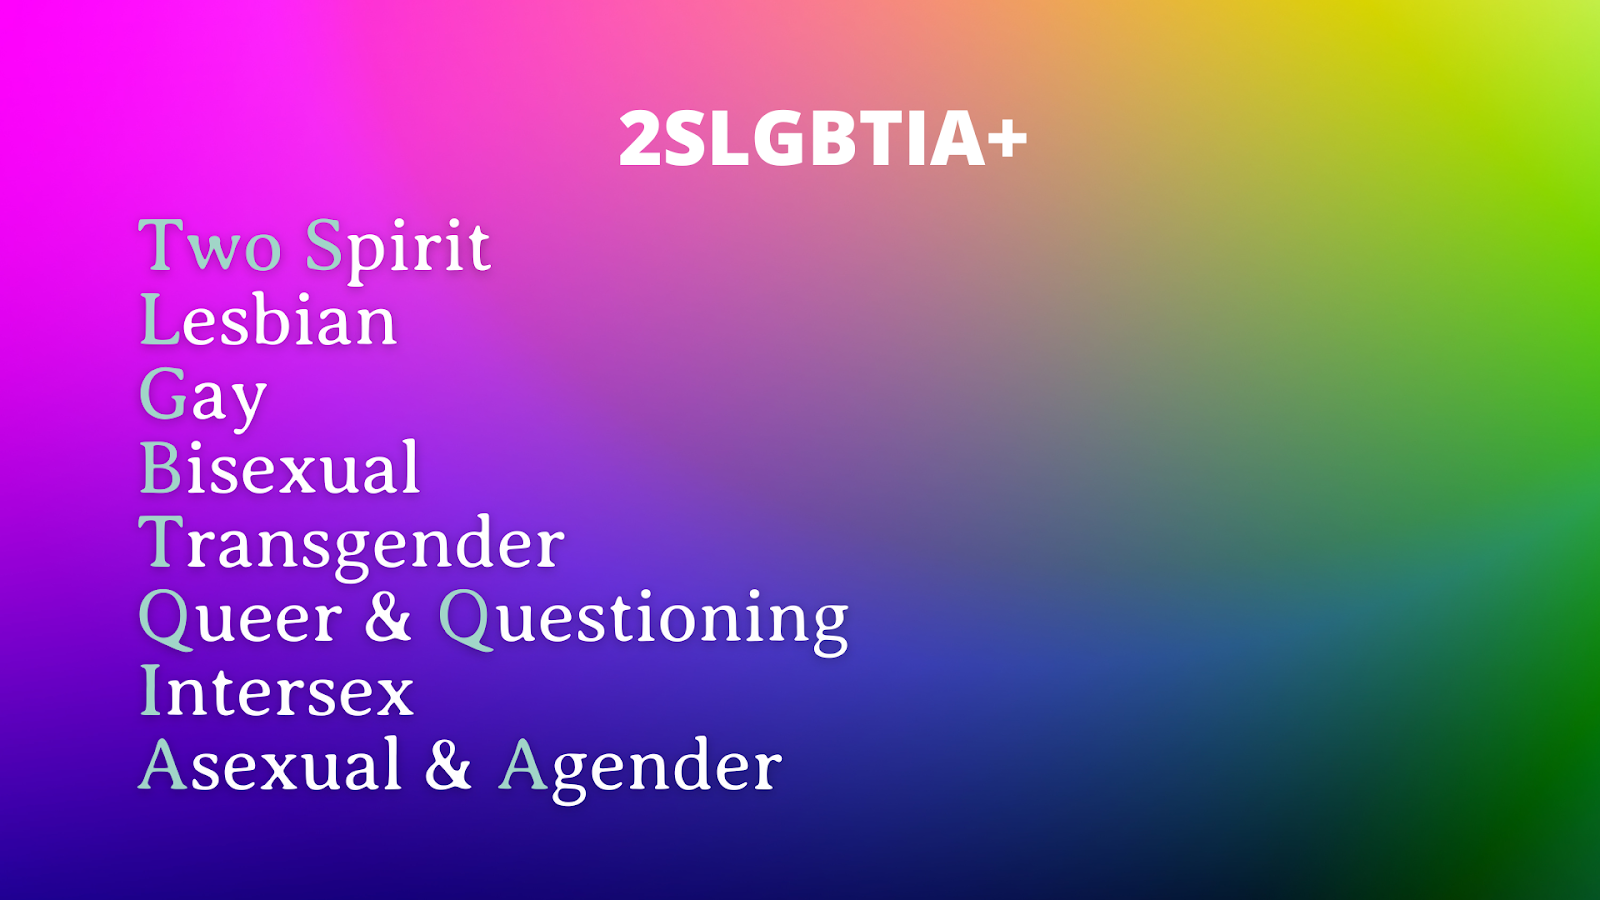
2SLGBTQIA+: Two Spirit, Lesbian, Gay, Bisexual, Transgender, Queer & Questioning, Intersex, Asexual & Agender
Asexual: An asexual is an individual who does not experience sexual attraction or experiences such a low level of sexual attraction that they do not consider it to be notable.
Note: Asexuality is not celibacy. People who choose to be celibate may experience sexual attraction, but not necessarily act on it.
Agender: Someone who does not identify with any sort of gender identity. This term may also be used by someone who intentionally has no recognizable gender presentation.
Two Spirit: Refers to a person who identifies as having both a masculine and a feminine spirit, and is used by some Indigenous people to describe their sexual, gender and/or spiritual identity. As an umbrella term it may encompass same-sex attraction and a wide variety of gender variance.
Queer: Queer is an umbrella term for people who are not heterosexual or are not cisgender.
Cisgender: Describes a person whose gender identity aligns with those typically associated with the sex assigned to them at birth.
Intersex: A term used for a variety of medical conditions in which a person is born with chromosomes, genitalia, and/or secondary sexual characteristics that are inconsistent with the typical definition of a male or female body.
Pansexual: A person who is emotionally, romantically, sexually, affectionately, or relationally attracted to people regardless of their gender identity or biological sex.
Trans/Transgender: An umbrella term for people whose gender identity and/or expression is periodically or permanently different from cultural expectations based on the sex they were assigned at birth. Transgender people may identify as straight, gay, bisexual, or some other sexual orientation.
To clarify, trans people and drag queens are NOT THE SAME! Drag is a form of entertainment. Typically, it’s performed by males who use makeup and clothing to exaggerate female gender roles during a performance. But, as the Queen of Drag, RuPaul, says herself, drag is for everyone!
*These terms are definitions, but sexual orientation falls along a continuum, and some may overlap.
Here is a list of more terms and definitions.
What Starling is Doing For Pride Month
We’re not all talk. Here’s what Starling Social is doing to celebrate Pride Month in 2024:
We’re Making a Donation to Sunshine House
Sunshine House is an inclusive space that provides programming that fulfills people’s social, community, and recreational needs. Participants can come as they are and are not expected to be “clean” or sober.
We Added an LGBTQ+ Community Resources Section to Our Website
As a company led by a member of the LGBTQ2S+ community, we feel it's important to highlight and elevate the profiles of other businesses and nonprofits in our province. This section is where you can find resources and some of the businesses and organizations we support.
We’re Attending Pride Celebrations in Our City
Specifically, you can find us at Devil May Care’s Pre-Pride Drag Show, but we’ll likely attend other events as our schedule allows!
We Wrote This Blog
Writing is kind of our thing, so it seemed like an appropriate way for us to share resources, re-evaluate our plans for this year, and also give us the opportunity to bookmark some upcoming queer events. We hope you enjoyed reading — and make sure to say hi if you see any of our team at Pride events.
Influencer Marketing in 2024: What You Need to Know
- by Alicia Kurz
Raise your hand if your bank account has been personally victimized by influencer marketing.
Partnerships between brands and influencers are now more strategic than ever. It's not just about slapping your logo on their feed; it's about creating meaningful collaborations that resonate with their followers.
Our blog post will walk you through what influencer marketing looks like in 2024, how to find the right creator for your brand, how to set clear goals and expectations for a successful campaign and more.
What is Influencer Marketing
If you’re reading this blog, you probably have a pretty good idea of what influencer marketing is, but here’s a quick summary for the newbies.
Influencer marketing is when companies collaborate with popular social media personalities to promote their products or services. It's like getting your cool friend to recommend that new restaurant to you, but on a bigger scale. In 2024, the average person spends 2 hours and 24 minutes on social media per day, so it makes sense that this is a popular way to reach your target audience.
These influencers (or creators) have a loyal following who trust their opinions and recommendations. So, when they talk about a product or service, their followers are more likely to check it out and maybe even make a purchase.
The State of Influencer Marketing
It’s not really an exaggeration to say that everyone is on their phone all the time. Consumers make purchasing decisions because of that. New data shows that 81% of respondents have either researched, purchased or considered purchasing a product or service after seeing friends, family or influencers post about it.
73% of Gen Z look to creators when making purchase decisions, and 69% of consumers trust what influencers say and recommend.
Because it’s where people are spending their time, U.S. Brands are predicted to increase investments in influencer marketing in 2024 to 7.14 billion. Before you hop on the influencer marketing bandwagon, let’s dive into the details so you get the highest return on investment for your campaign.
Nano Influencers Are Thriving
Bigger isn’t always better when it comes to influencer marketing anymore.
People know when they’re being sold to when they see a sponsored product from a social media celebrity. The days of perfectly curated feeds are dead. Your audience craves authenticity. And this is a great thing! It’s mutually beneficial for the audience and the creator because real content fosters stronger bonds between influencers and their audience, enabling influencers to build trust gradually. This trust, in turn, boosts engagement, and when brands collaborate with these influencers, they inherit that trust.
Nano influencers, with smaller but highly engaged followings, are proving to be more effective in reaching niche audiences than their macro counterparts.
Here's where the familiarity principle kicks in: people are naturally drawn to what feels familiar and relatable. When brands partner with nano influencers, they tap into this principle, connecting with audiences on a personal level.
Wait, What’s a Nano Influencer?
There are five tiers of influencers. Not every agency agrees on the exact number, but the consensus is in this ballpark. Understanding the differences between each tier helps brands create targeted and budget-friendly influencer strategies that match their goals.
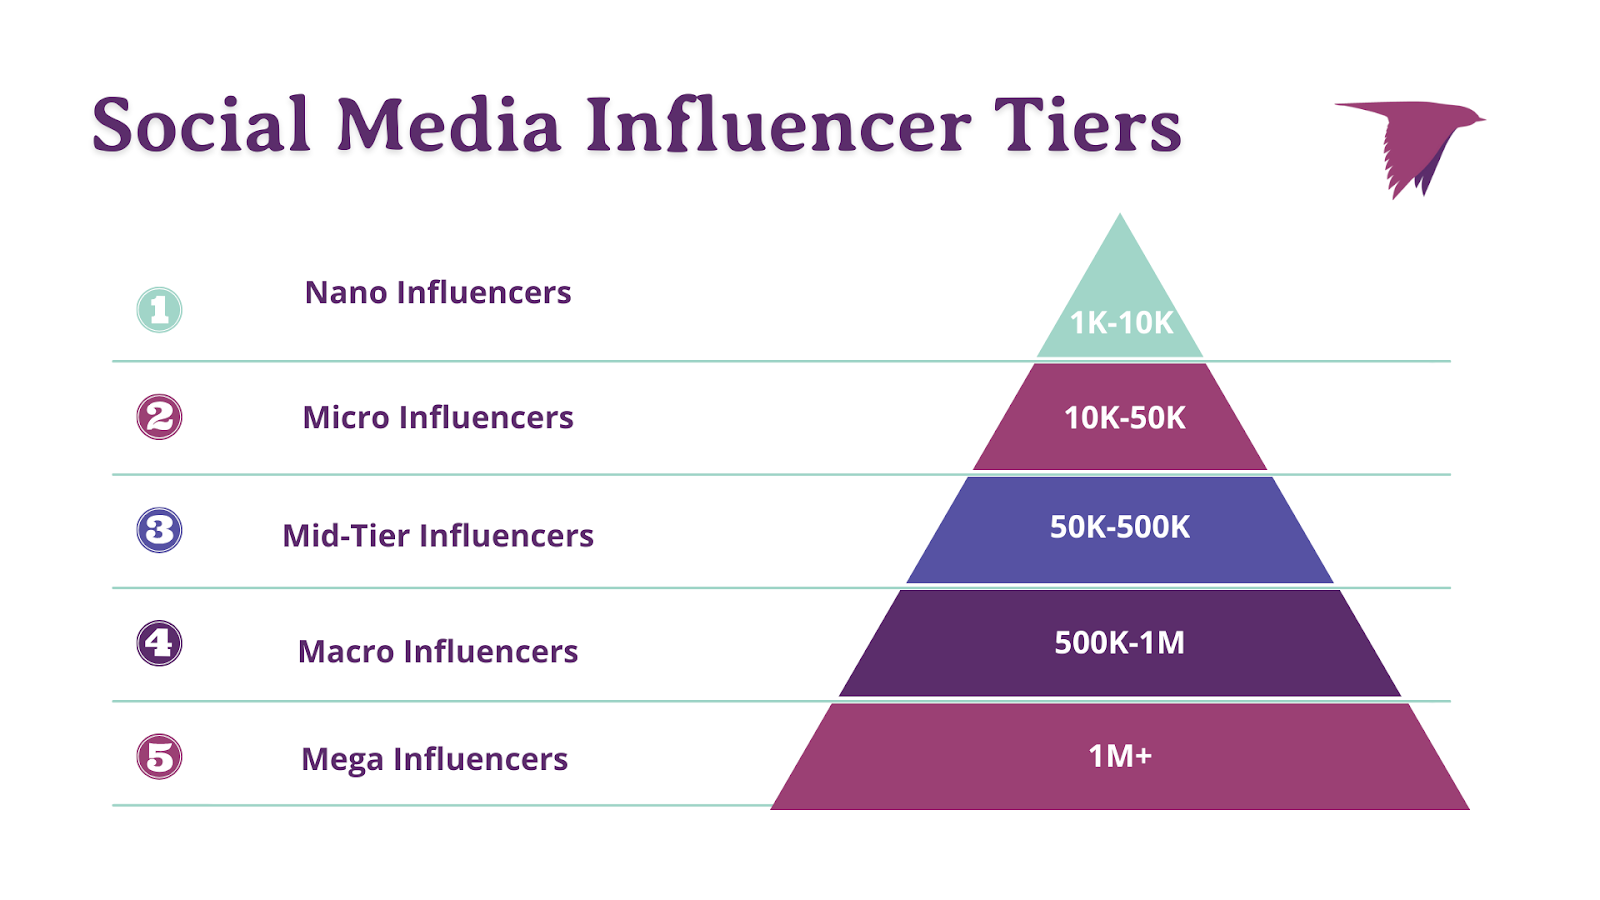
- Mega Influencers: They reach a huge audience with broad appeal.
- Macro Influencers: They have substantial reach and engage with a diverse audience.
- Mid-tier Influencers: These guys strike a balance between influence and authenticity, making more personal connections.
- Micro Influencers: They're all about specific niches, building genuine connections within their communities.
- Nano Influencers: They keep it real with a small but super engaged audience.
Find the Right Influencer for Your Brand
Start looking for influencers on social media by looking up keywords and browsing your competition’s pages. Throwing a question sticker on your Instagram Stories could be a great way to directly ask your audience whose content they enjoy.
Once you’ve found a potential content creator, browse their content. Ask yourself:
- Is this a good fit?
- Who is their target audience?
- What is their engagement rate?
- How do their values align with your brand?
- How often are they posting sponsored content?
- Would this person enjoy your product or service?
Once you’ve decided this is the person you want to work with, it’s time to reach out. Look for an email address. Content creators get a ton of DMs. If you can’t email them, make sure to comment on their post that you’ve sent them a DM — but make it an authentic message so you don’t sound like a bot!
It’s important to be mindful that being a content creator is often a full-time job, so be respectful with their time. Before you reach out, make sure you are familiar with the type of content they produce, who their audience is and what your specific ask is.
To set the right context, ask for their media kit and be clear about who you are and what you're looking for. Don't forget to mention your budget upfront. Smaller influencers may be open to gifting opportunities, but remember, this is their job and they deserve to be paid fairly for their time.
When it comes down to negotiating timelines, content creation specifics, and budget considerations - make sure it's a win-win situation for both parties involved.
Set Goals and Expectations
What does success look like for your campaign? Are you aiming for increased brand awareness, higher engagement, more website traffic, or actual sales? Here are some key performance indicators you should consider before your campaign rolls out:
Brand Awareness
This includes reach, impressions and views — anything that indicates your audience size and visibility.
Engagement
Here you are looking for likes, comments, saves, shares and @ mentions. This is our favourite because you can get direct feedback on what’s resonating with your audience.
Click Through Rate
This measures how much traffic went to your website during the influencer marketing campaign.
Conversions
To increase your conversions, create special promo codes and affiliate links for your influencers before your campaign starts.
Expectations
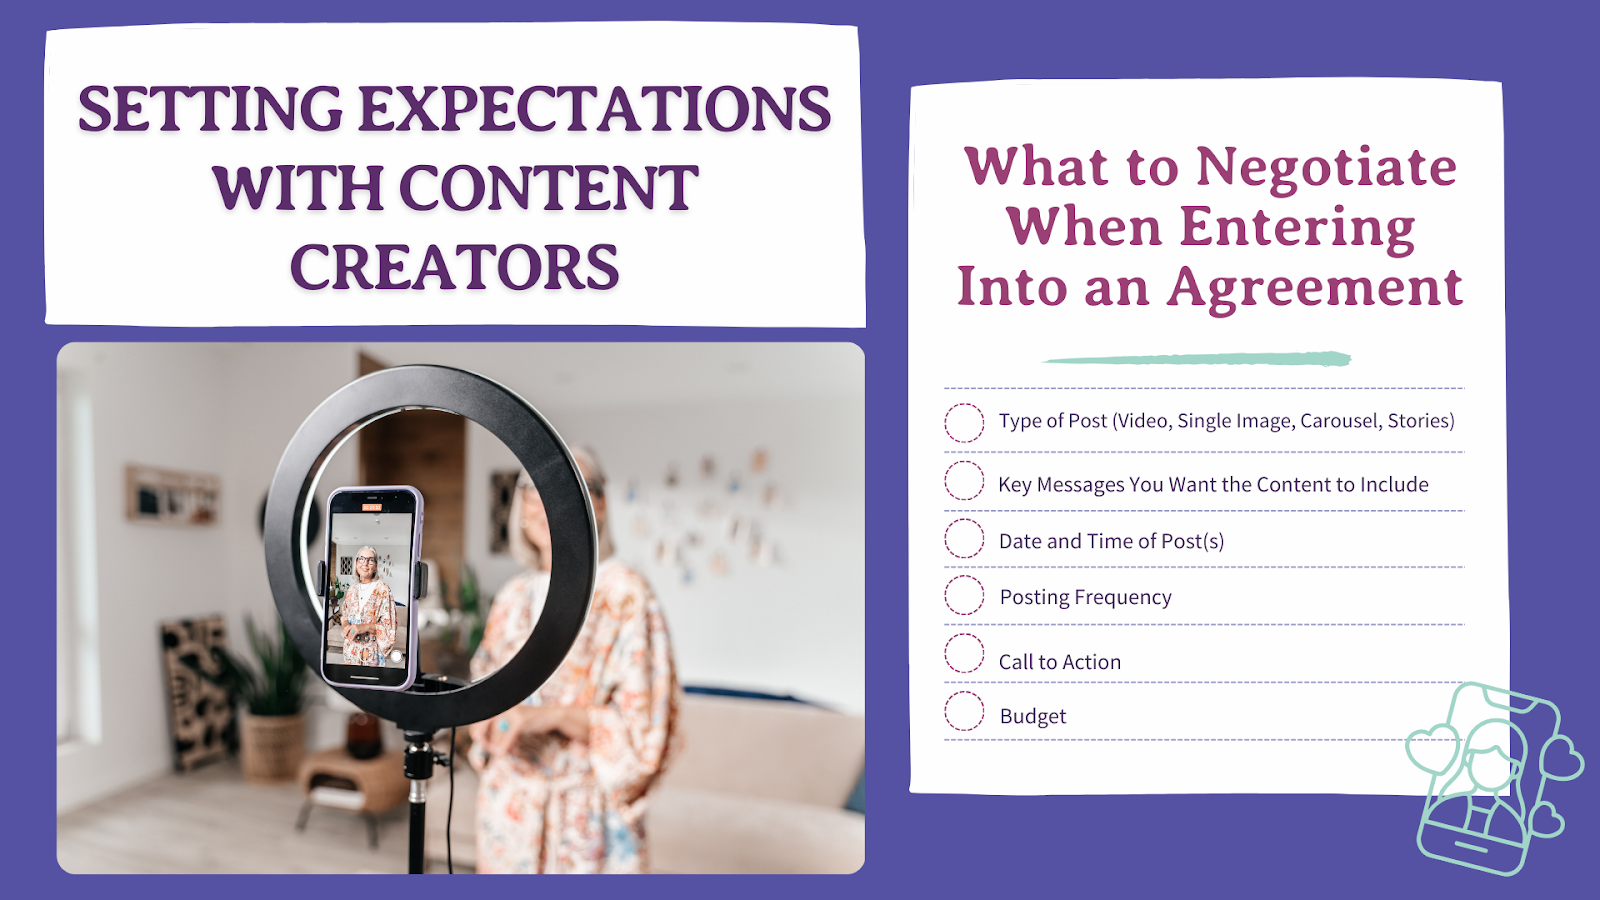
There is a reason we love documents and processes. That way, everyone is on the same page. We’ve heard horror stories about working with influencers, so it’s important to set clear expectations on:
- Type of post (video content, Stories, single images, carousels)
- Key messages you want the content to include
- Date and time of the post(s)
- Posting frequency
- Call to action
- Budget
Influencer marketing is about understanding your target audience, building authentic connections, and creating meaningful content that resonates. By working with content creators who share your values, you can position yourself as a leader in the industry and drive impactful results for your brand.
If you’re interested in influencer marketing, the team at Starling Social can manage your campaign from start to finish. Contact us here to learn more.
Ethical Content and Content Marketing in the Age of AI
- by Alicia Kurz
Written by Sr. Account Manager Alicia Kurz
Here at Starling Social, we’re all for working smarter, not harder. With new AI writing tools popping up what feels like weekly, it would be silly not to utilize them. They can help with spelling and grammar edits and are great for idea generation. What these tools still can’t do is write like humans.
We’re not going to BS you and try and say we never use AI, in fact, it’s almost impossible to get around. Even our scheduling tools have built-in AI features. As someone who uses these tools, the AI output is glaringly obvious, which is why we opt out of certain features. We spot content written by AI in blogs, captions, newsletters, and, honestly, everywhere. This just reinforces the difference that a human touch can make in your content — and we’re okay with that!
Let’s dig into the ethics, pros and cons, useful tools, and everything AI content marketing related.
The Intersection of Ethics, Content, and AI
AI is not going anywhere, and neither is the need for more content that’s on trend, on brand, and delivered in a timely manner across all your marketing channels. With that, comes ethical considerations.
What’s crossing the line when it comes to producing content for your own business — or in a marketing agency’s case, other businesses' content when AI is involved?
We believe in transparency, and using AI to enhance content, as opposed to compromising our ethical standards. What’s considered ethical in our field when incorporating AI into your writing, is using tools to streamline processes (like editing) or spark ideas. What isn’t cool, is plugging an idea into ChatGPT, asking for a 500-word blog, and calling it your own.
Using AI to assist in writing brings up concerns about authenticity, plagiarism, biases, and what responsibilities writers have. We don’t have all the answers, but here are a few things to consider if you are going to use AI to help create your content:
Authenticity: Please edit or prompt your program to use your (or your brand’s) voice, values and key messages. Otherwise, your writing will sound robotic and boring. Keep it true to your brand.
Accuracy: Just like when you’re scrolling through social media, fact-check your information. AI sources content from across the internet, so there’s no guarantee that it got its information from a reliable source.
Honesty: Don’t deceive your audience by passing off work created by AI as your own. Keep plagiarism and copyright law in mind, and always ask if it feels right to put your name on AI-generated work.
The only way to use AI effectively is with human oversight. While these tools offer efficiency and automation, a person is what makes your content align with brand values, quality standards, and ethical considerations.
The Pros and Cons of Leveraging AI in Content Creation and Marketing
We’re in a love-hate relationship with the idea of AI and content creation. Editing tools are a lifesaver for writers and people with screen fatigue (read: us). But we’re now seeing a lot of content that’s lacking a human touch, making it boring and forgettable.
Pros
Content generation: You can truly ask AI to write you anything, and it will produce it in a matter of seconds. This is great for generating ideas, asking questions, and helping to repurpose content.
Cost: It’s free, and you really can’t beat that. Of course, you can get access to better AI services with paid subscriptions, but there are free options readily available for anyone with internet access.
Insights: If you have data from Google, your social channels, or a newsletter, you can use AI to help you identify trends and keywords and develop strategies to improve the return on your marketing efforts.
Editing: After staring at your own work for hours on end, it feels impossible to spot minor spelling and grammar errors. These extensions improve your writing and help avoid any careless mistakes and embarrassing errors.
Availability: AI writing tools are available round-the-clock, allowing marketers to generate content at any time, regardless of time zones or office hours.
Cons
Lack of Creativity: Since AI sources information from what’s already available on the internet, you could argue that it’s unable to be creative at all. Additionally, (for us anyway) it feels good to come up with creative ideas and execute them.
Quality Concerns: You can usually tell when AI wrote something. There’s awkward phrasing, a lack of personality, and consistency to a fault in AI’s tone and style.
Limited Understanding: AI doesn’t quite get nuances, cultural references, trends, or context. The output can sometimes be wrong, or inappropriate.
Potential Plagiarism: Oops, AI can spit out plagiarized material, risking your reputation or even legal repercussions. This is another reason to only use these tools for information gathering, inspiration, and editing!
No Human Touch: AI can’t produce content that resonates with the human experience because it hasn’t had human experience. Think about those videos where people get AI to watch 1000 hours of Hallmark movies and create their own — they just don’t make sense. The key to connecting with your audience is authenticity!
Your Brain Stops Working: Not really, but kind of. You know what they say: if you don’t use it, you lose it. The more you write, the better you get, so using AI to write everything for you just takes away any opportunity for you to improve that skill on your own.
How to Spot AI in Writing
Spotting AI-generated writing can sometimes be challenging. After all, writing isn’t everybody’s strong suit. Keep an eye out for repetitive patterns, unnatural language transitions, or inconsistencies in writing style.
There are common “red flags” like:
- Unusual phrasing
- Generic language
- Emotionless writing
- Heavy use of keywords
- The same tone and style
- Lack of personal anecdotes
The bonus of having content so heavily produced by AI is that human-authored content now stands out even more. No algorithm can replicate the depth of human emotions or intuition.

5 Useful AI Tools
Grammarly
What it does: Analyzes written text for grammatical errors, spelling mistakes, punctuation issues, and sometimes even style and tone inconsistencies.
Note: Make sure you set your location correctly (it defaults to U.S. spelling) and make sure Grammarly’s corrections still sound like you. Their “rewrite for clarity” option can be grammatically correct, but sometimes removes the personality from your piece.
Hemmingway Editor
What it does: Uses AI to fix common grammatical issues and spelling mistakes. It also assesses the reading level of your writing.
Note: In writing for the public, you want your score to be at at 8th grade reading level.
ChatGPT
What it does: It is a chatbot that can provide information, answer questions, generate content, and assist with various tasks.
Note: Content generated from ChatGPT sounds automated. We recommend using it to gather information, ask questions, or even help with repurposing content.
Rytr
What it does: It’s an AI writing software that can create blog posts, email and ad copy, outlines, stories, and more. It also has functions like checking for plagiarism and keyword research.
Note: We find it useful for creating blog outlines, but you still need to edit the output heavily.
Perplexity
What it does: This chatbot is similar to ChatGPT, but it provides sources for its output.
Note: This one is great for doing research!
There are so many AI content creation tools that we aren’t going to go through them all, but these ones are vetted. We aren’t trying to sell you anything—just give you a heads-up on what’s available.
Balancing Automation with Authenticity
There are clear benefits of automation in marketing, like efficiency and scale, but authenticity is necessary to build trust and credibility with consumers. Only people have the sense to create great, personalized experiences that capture consumers' attention.
Authenticity isn’t something that can be automated. It requires empathy and an attempt to understand and respond to a real person. Too much automation risks creating impersonal content that fails to resonate with your audience.
If you’re interested in human-authored copywriting to connect with your audience, contact Alyson at alyson@starling.social to discuss your next project.
10 Unique Ways to Celebrate IWD 2024
- by Alicia Kurz
Save the date for March 8.
International Women's Day is a global call to action, recognizing and amplifying the contributions of women across the social, economic, cultural, and political landscape. Last year, we wrote a list of ways your business can celebrate IWD, but as time goes on, best practices evolve (yay, progress!), so we thought we would create a list of more ways to #InspireInclusion.
What Is International Women’s Day?
IWD stretches back to 1911, evolving over the years. Now, diversity, equity and inclusion are non-negotiable. With the help of social media, feminism has a global voice, organizations face scrutiny for their bad actions, and we are able to challenge stereotypes and biases. (See: Kyte Baby scandal)
Recognized by the United Nations in 1977, IWD has since become a global phenomenon, with each year focusing on themes related to women's rights, equality, and empowerment. This year’s theme is Inspire Inclusion. When women are included, there's a sense of belonging, relevance and empowerment.
Why Is International Women’s Day Important?
If you’re reading this blog and thinking, “it seems pretty fair to me,” then let’s look at some stats:
Women represent roughly 1 in 4 C-suite leaders, and women of colour just 1 in 16. - Women in the Workplace report 2023
Canada has registered a 0.2 percentage-point decline in the overall parity score since the last edition, the United States has seen a reduction of 2.1 percentage points. At the current rate of progress, 95 years will be needed to close the gender gap for the region. - Global Gender Gap Report
There are stats on the “glass ceiling,” micro-aggressions in the workplace, ambition levels, remote and flexible work — you name it. The data clearly shows that women (particularly women of colour) are underrepresented, under-compensated, and passed over in the workplace.
This day serves as a powerful reminder of women's ongoing challenges in various spheres of life. It sparks discussions on women's rights, creates awareness about gender inequality, and mobilizes efforts to accelerate gender parity.
Peek into reports like the Women in the Workplace Report and the Global Gender Gap Report for a snapshot of progress and a reminder of the urgency for continued action.
By amplifying women's voices, sharing diverse stories, and promoting inclusivity, IWD contributes to the larger movement for building a more equitable and just society for everyone. With that said, here are ways to celebrate IWD in 2024.
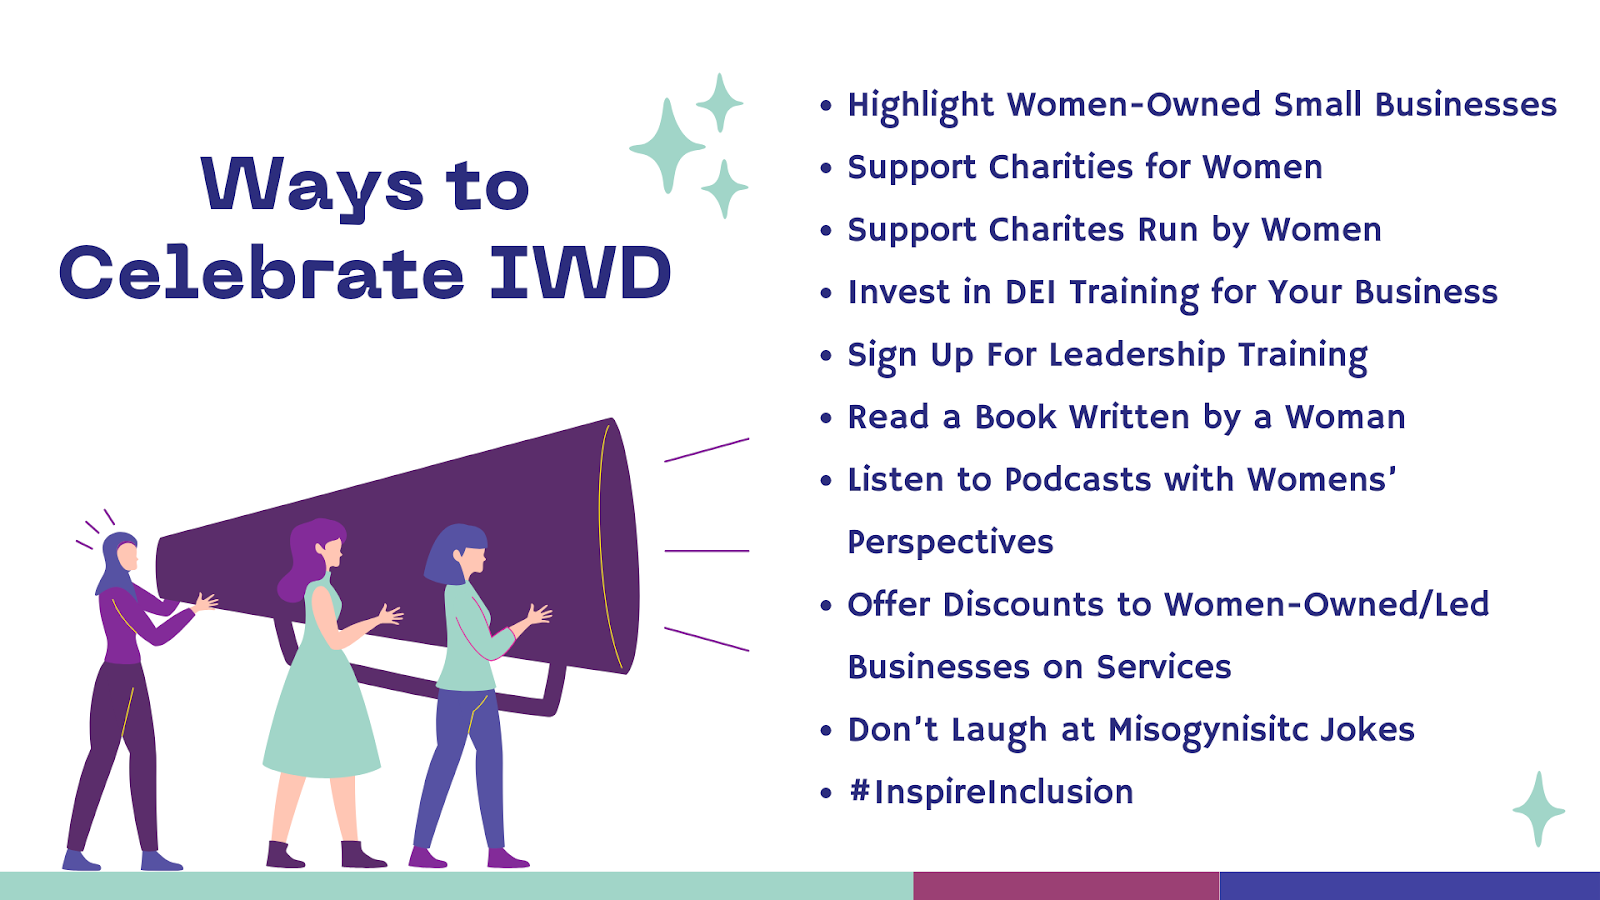
Highlight Women-Owned (Especially BIPOC Women) Small Businesses
This is something we try to do all the time, but we also suffer from burnout and high expenses… and Amazon is just there when it’s -40 outside.
However, we are lucky to have several resources* that help us find women-owned and BIPOC-owned businesses.
*Black-Owned Manitoba and BIPOC-Owned Downtown Winnipeg lists don’t list whether it’s a women-owned business, so you may need to do some of your own research. Here are a few BIPOC+women-owned businesses we personally recommend:
If you aren’t financially able to support women-owned businesses in this season of your life, we understand. Here are some free ways to support them:
- Attend events they host
- Leave a Google Review
- Like/Comment + Share a post on your social media
- Collaborate with them on your blog/podcast/website
- Tell your friends and family how great the business is
- Volunteer your skills (graphic design, copywriting, etc.)
- Listen to what they have to say and read their content (like this blog!)
Support Charities for Women
When we think of International Women’s Day, our first response is a celebration. However, it should also be a reminder that we need to accelerate gender parity. Charities focused on women's issues often work tirelessly to amplify the voices of those who might otherwise go unheard. By supporting these organizations, you contribute to creating a platform where women's stories, challenges, and triumphs can be shared, acknowledged and tackled.
There are a ton of charities to back, from local to global, and education to fighting gender-based violence. Bolstering these charities makes a lasting difference.
Support Charities Run by Women
When you support charities run by women, you actively contribute to breaking down gender stereotypes, promoting representation in leadership roles, and inspiring future generations.
These initiatives often emphasize intersectionality, recognizing and addressing the interconnected nature of various forms of discrimination, ensuring a more inclusive and comprehensive approach. Backing women-led charities is a tangible investment in creating a world where women have equal opportunities, rights, and access to resources, making a collective and lasting impact on the advancement of women's rights and overall societal well-being.
How You Can Support
Donate:
Every dollar counts. Whether it's a one-time or recurring contribution. Choose a charity aligned with your values and causes you're passionate about.
Volunteer:
Offer your time and skills to women-focused charities. Your expertise could make a significant difference in their initiatives.
Spread Awareness:
Share their stories and achievements on your social platforms.
Invest in DEI Training for Your Business
Diversity Equity and Inclusion training aligns with the core values of IWD and serves as a proactive step toward creating workplaces that are fair, inclusive, and supportive of women. These programs provide opportunities to address unconscious biases, challenge stereotypes, and foster a culture where diverse voices are heard and valued.
Sign Up For Leadership Training
Leadership training empowers women to overcome barriers, break through gender stereotypes, and navigate challenges in professional settings. It also aligns with the spirit of IWD by creating a supportive network and promoting the idea that women deserve equal opportunities to lead and excel in diverse fields.
Read a Book Written by a Woman
Here’s the thing: it really can be this easy. Everyone has a different capacity on how they are able to contribute to things like International Women’s Day. Some people have the time, resources and energy to organize an event, others can make a donation, and some people truly don’t have the time, energy or resources to do those things.
If you want to commit to buying books only written by women about women this year from a woman-owned bookstore — that’s fabulous.
But, if you are limited to library books and are looking for a great story and only have the energy to read one book per year, then pick a book written by a woman. Do what you can.
Listen to Podcasts with Womens’ Perspectives
When you tune in to women-led podcasts, you amplify diverse perspectives, celebrate women's achievements, and empower female content creators. It serves as a conscious choice to challenge stereotypes, promote gender equality, and build a sense of community around the shared experience of appreciating and learning from women's narratives. It's a deliberate act of support, recognition, and celebration of women's valuable contributions and stories across various fields and experiences.
Offer Discounts to Women-Owned/Led Businesses on Services
Addressing financial challenges and creating cost-saving opportunities builds lasting partnerships and increases women-owned enterprises' visibility. It contributes to corporate social responsibility, inspires confidence among women entrepreneurs, and aligns with the broader mission of IWD to create a more inclusive and equal world.
Plus, it feels good to do something nice for another woman-led company.
Don’t Laugh at Misogynistic Jokes
Sorry, Matt Rife, it’s just not funny.
By dismissing or trivializing misogynistic humour, we inadvertently endorse attitudes that demean and devalue women. When you choose not to laugh at misogynistic jokes, it’s a small but impactful step in fostering a more inclusive and respectful society.
Our go-to responses for inappropriate jokes:
- Ask them to repeat it
- Ask them to explain it
- Say, “I’m surprised you felt comfortable to say that out loud.”
- Express that it made you uncomfortable
- Just don’t laugh
#InspireInclusion
This year’s theme of International Women’s Day is Inspire Inclusion.
- When women aren't present, ask: "If not, why not?"
- When women are discriminated against, call out poor practice.
- When the treatment of women is not equitable, take action.
- Do this each time, every time.
All IWD activity is valid, that's what makes it so inclusive. Do what you can, when you can. Every action counts. Learn more on the International Women’s Day website.